Snowball Cookies, those delightful little confections, are a holiday treat that never fails to bring joy to any gathering. With their soft, buttery texture and a dusting of powdered sugar that resembles freshly fallen snow, these cookies are as festive as they are delicious. Originating from various cultures, including Russian Tea Cakes and Mexican Wedding Cookies, Snowball Cookies have a rich history that adds to their charm. I love how they evoke warm memories of family gatherings and holiday celebrations, making them a staple in my kitchen during the festive season.
What makes Snowball Cookies so beloved is their melt-in-your-mouth quality and the simplicity of their preparation. They are perfect for sharing, and their charming appearance makes them a hit at any holiday party. Plus, they are incredibly convenient to make, requiring just a handful of ingredients that you likely already have on hand. Whether you’re baking for a crowd or just indulging yourself, Snowball Cookies are the perfect holiday treat that will leave everyone asking for seconds!

Ingredients:
- 1 cup unsalted butter, softened
- 1/2 cup powdered sugar, plus extra for dusting
- 1 teaspoon vanilla extract
- 2 cups all-purpose flour
- 1/4 teaspoon salt
- 1 cup finely chopped nuts (walnuts or pecans work great)
Preparing the Dough
1. **Cream the Butter and Sugar**: In a large mixing bowl, I start by creaming together the softened unsalted butter and 1/2 cup of powdered sugar. I use an electric mixer on medium speed for about 2-3 minutes until the mixture is light and fluffy. This step is crucial as it helps to incorporate air into the dough, making the cookies tender. 2. **Add Vanilla**: Next, I add in 1 teaspoon of vanilla extract. The aroma of vanilla fills the kitchen, and I can already imagine how delicious these cookies will be! 3. **Combine Dry Ingredients**: In a separate bowl, I whisk together 2 cups of all-purpose flour and 1/4 teaspoon of salt. This ensures that the salt is evenly distributed throughout the flour, which is important for flavor. 4. **Mix Dry Ingredients into Wet**: Gradually, I add the flour mixture to the butter and sugar mixture. I do this in three parts, mixing on low speed until just combined after each addition. I want to avoid overmixing, as this can lead to tough cookies. 5. **Incorporate Nuts**: Finally, I fold in 1 cup of finely chopped nuts using a spatula. The nuts add a delightful crunch and flavor to the cookies. I make sure they are evenly distributed throughout the dough. 6. **Chill the Dough**: Once the dough is well combined, I cover the bowl with plastic wrap and refrigerate it for at least 1 hour. Chilling the dough helps the cookies maintain their shape while baking and enhances the flavors.Shaping the Cookies
7. **Preheat the Oven**: While the dough is chilling, I preheat my oven to 350°F (175°C). This ensures that the cookies will bake evenly. 8. **Prepare Baking Sheets**: I line two baking sheets with parchment paper. This prevents the cookies from sticking and makes for easy cleanup. 9. **Form the Cookies**: After the dough has chilled, I take it out of the refrigerator. Using my hands, I scoop out about 1 tablespoon of dough and roll it into a ball. I place the balls about 2 inches apart on the prepared baking sheets. I find that using a small cookie scoop makes this step even easier and ensures uniform cookie sizes. 10. **Bake the Cookies**: I pop the baking sheets into the preheated oven and bake the cookies for 12-15 minutes, or until the edges are lightly golden. The centers will still look a bit soft, but they will firm up as they cool.Coating the Cookies
11. **Cool the Cookies**: Once the cookies are out of the oven, I let them cool on the baking sheets for about 5 minutes. This allows them to set a bit before transferring them to a wire rack. 12. **Dust with Powdered Sugar**: After the cookies have cooled completely, I take a generous amount of powdered sugar and place it in a shallow bowl. I roll each cookie in the powdered sugar until they are completely coated. This gives them that signature snowball look and adds a sweet touch. 13. **Final Dusting**: For an extra festive touch, I like to dust the cookies with a little more powdered sugar just before serving. It makes them look even more like little snowballs!Storing the Cookies
14. **Store Properly**: If I have any cookies left (which is rare!), I store them in an airtight container at room temperature. They can last for up to a week, but I find they are best enjoyed within the first few days when they are still fresh. 15. **Freezing Option**: If I want to make these cookies ahead of time, I can freeze the unbaked dough. I simply roll the dough into balls, place them on a baking sheet, and freeze until solid. Then, I transfer them to a freezer bag. When I’m ready to bake, I can bake them straight from the freezer, adding a couple of extra minutes to the baking time.Serving Suggestions
16. **Presentation**: When serving these delightful snowball cookies, I like to arrange them on a festive platter. Adding some holiday-themed decorations, like small ornaments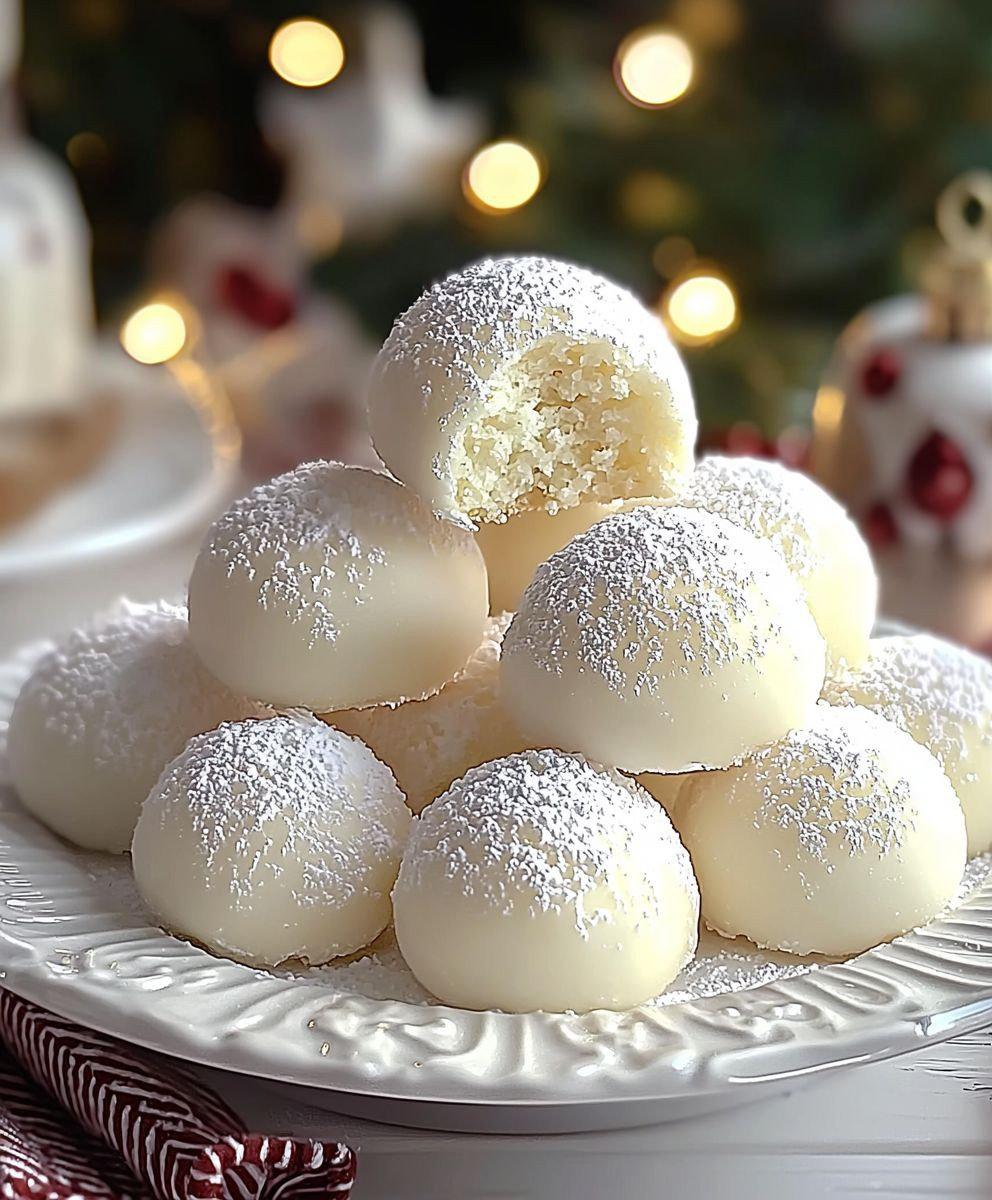
Conclusion:
In conclusion, these Snowball Cookies are an absolute must-try for anyone looking to add a delightful touch to their holiday treats. Their melt-in-your-mouth texture, combined with the sweet, nutty flavor, makes them a perfect addition to any festive gathering or cozy family night. Plus, they are incredibly easy to make, which means you can whip up a batch in no time and impress your friends and family with your baking skills! For serving suggestions, I love to present these cookies on a beautiful platter dusted with powdered sugar, perhaps alongside a warm cup of cocoa or a festive spiced tea. You can also get creative with variations—try adding a hint of vanilla or almond extract for an extra layer of flavor, or mix in some chocolate chips or dried fruit for a fun twist. The possibilities are endless! I encourage you to give this Snowball Cookies recipe a try and share your experience with me! Whether you stick to the classic version or experiment with your own variations, I would love to hear how they turn out. Don’t forget to snap a picture and share it on social media—let’s spread the joy of these delightful holiday treats together! Happy baking! Print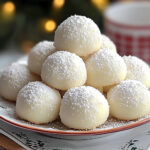
Snowball Cookies: The Perfect Holiday Treats for Your Festive Celebrations
- Total Time: 90 minutes
- Yield: 24 cookies 1x
Description
These Snowball Cookies are a buttery, nutty delight rolled in powdered sugar, making them a perfect treat for festive occasions. With a tender texture and sweet finish, they are sure to be a favorite addition to your cookie collection!
Ingredients
- 1 cup unsalted butter, softened
- 1/2 cup powdered sugar, plus extra for dusting
- 1 teaspoon vanilla extract
- 2 cups all-purpose flour
- 1/4 teaspoon salt
- 1 cup finely chopped nuts (walnuts or pecans)
Instructions
- Cream together the softened unsalted butter and 1/2 cup of powdered sugar using an electric mixer on medium speed for about 2-3 minutes until light and fluffy.
- Mix in 1 teaspoon of vanilla extract until well combined.
- In a separate bowl, whisk together 2 cups of all-purpose flour and 1/4 teaspoon of salt.
- Gradually add the flour mixture to the butter and sugar mixture in three parts, mixing on low speed until just combined after each addition.
- Fold in 1 cup of finely chopped nuts using a spatula until evenly distributed.
- Cover the bowl with plastic wrap and refrigerate for at least 1 hour.
- Preheat your oven to 350°F (175°C).
- Line two baking sheets with parchment paper.
- Scoop out about 1 tablespoon of dough and roll it into a ball. Place the balls about 2 inches apart on the prepared baking sheets.
- Bake for 12-15 minutes, or until the edges are lightly golden. The centers will look soft but will firm up as they cool.
- Let the cookies cool on the baking sheets for about 5 minutes before transferring them to a wire rack.
- Roll each cookie in powdered sugar until completely coated. For an extra festive touch, dust with more powdered sugar just before serving.
Notes
- Store cookies in an airtight container at room temperature for up to a week.
- Unbaked dough can be frozen; roll into balls, freeze until solid, then transfer to a freezer bag. Bake from frozen, adding a couple of extra minutes to the baking time.
- Prep Time: 15 minutes
- Cook Time: 15 minutes