Easy Homemade Chili: the words themselves conjure up images of cozy nights, crackling fireplaces, and the comforting aroma of simmering spices. But what if I told you that achieving that perfect bowl of chili, the kind that warms you from the inside out, is easier than you ever imagined? Forget complicated recipes with dozens of obscure ingredients. This recipe is all about simplicity without sacrificing flavor.
Chili, in its various forms, has a rich and fascinating history, tracing its roots back to the American Southwest. Some historians believe that early versions of chili were created by impoverished families looking for a way to stretch limited resources, using inexpensive cuts of meat and readily available spices. Over time, chili evolved, with different regions adding their own unique twists and ingredients, from beans and tomatoes to chocolate and even beer!
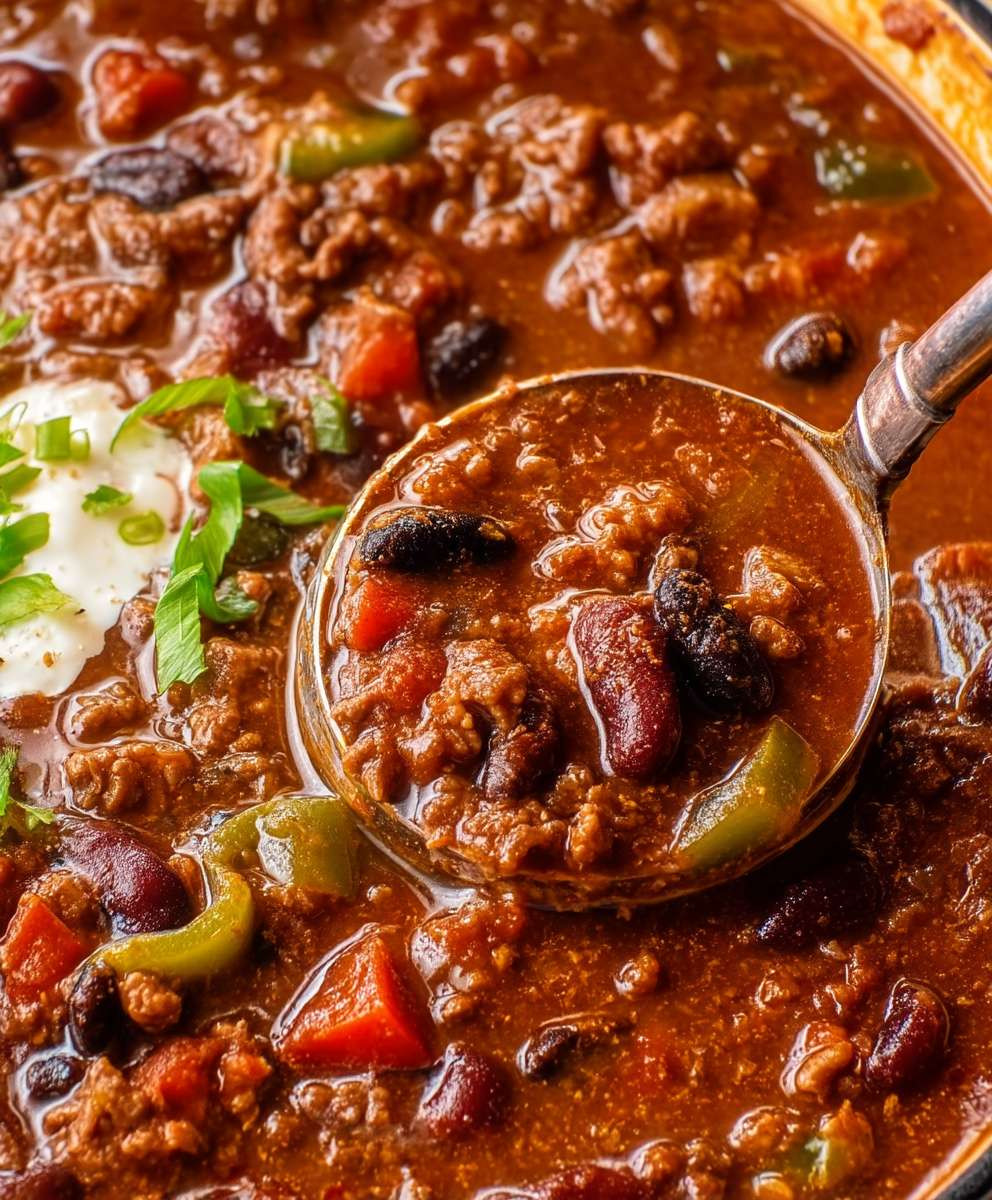
But why do people love chili so much? It’s more than just a meal; it’s an experience. The combination of savory meat, hearty beans, and a blend of warming spices creates a symphony of flavors that tantalizes the taste buds. The texture is equally satisfying, a delightful mix of tender meat, creamy beans, and a rich, slightly chunky sauce. And let’s not forget the convenience! Easy Homemade Chili is a one-pot wonder, perfect for busy weeknights or lazy weekends. It’s also incredibly versatile, easily customizable to suit your own preferences and dietary needs. So, are you ready to discover the secret to the most delicious and easiest chili you’ve ever made? Let’s get cooking!

Ingredients:
- 2 tablespoons olive oil
- 1 large onion, chopped
- 2 cloves garlic, minced
- 1 green bell pepper, chopped
- 1 red bell pepper, chopped
- 1 pound ground beef (or ground turkey for a leaner option)
- 1 teaspoon chili powder
- 1 teaspoon cumin
- 1/2 teaspoon smoked paprika
- 1/4 teaspoon cayenne pepper (optional, for extra heat)
- 1/2 teaspoon dried oregano
- 1/4 teaspoon salt, or to taste
- 1/4 teaspoon black pepper, or to taste
- 1 (28 ounce) can crushed tomatoes
- 1 (15 ounce) can tomato sauce
- 1 (15 ounce) can kidney beans, rinsed and drained
- 1 (15 ounce) can black beans, rinsed and drained
- 1 cup beef broth (or vegetable broth)
- Optional toppings: shredded cheddar cheese, sour cream, chopped green onions, avocado slices, tortilla chips
Getting Started: Preparing the Base
Okay, let’s get this chili party started! The first step is all about building a flavorful foundation. Trust me, this is where the magic happens.
- Sauté the Aromatics: Grab a large pot or Dutch oven – something with a heavy bottom works best to distribute the heat evenly. Place it over medium heat and add the olive oil. Once the oil is shimmering (that means it’s hot enough!), toss in the chopped onion. Cook the onion for about 5-7 minutes, stirring occasionally, until it becomes soft and translucent. You don’t want it to brown too much at this stage, just soften it up.
- Add the Garlic and Peppers: Now, add the minced garlic, chopped green bell pepper, and chopped red bell pepper to the pot. Stir everything together and cook for another 3-5 minutes, until the peppers start to soften and the garlic becomes fragrant. Be careful not to burn the garlic, as it can turn bitter. The aroma at this point should be making your mouth water!
Browning the Meat and Building Flavor
Next up, we’re going to brown the ground beef and infuse it with all those wonderful spices. This step is crucial for developing a rich, deep flavor in your chili.
- Brown the Ground Beef: Push the vegetables to one side of the pot and add the ground beef to the other side. Use a spatula or wooden spoon to break the beef apart into smaller pieces. Cook the beef, stirring occasionally, until it’s completely browned. Make sure there are no pink bits left! As the beef cooks, it will release some fat. If there’s an excessive amount of fat, you can drain some of it off at this point. I usually leave a little bit for extra flavor.
- Spice it Up!: Once the beef is browned, it’s time to add the spices. Sprinkle in the chili powder, cumin, smoked paprika, cayenne pepper (if you’re using it), dried oregano, salt, and pepper. Stir everything together well, making sure the spices coat the beef and vegetables evenly. Cook for another minute or two, stirring constantly, until the spices become fragrant. This process, called “blooming” the spices, helps to release their full flavor potential.
Simmering to Perfection
Now comes the easy part – letting the chili simmer and develop its flavors. This is where patience pays off big time. The longer it simmers, the better it will taste!
- Add the Tomatoes and Beans: Pour in the crushed tomatoes, tomato sauce, kidney beans, and black beans. Stir everything together to combine.
- Add the Broth: Pour in the beef broth (or vegetable broth). The broth will help to thin out the chili and create a nice, saucy consistency.
- Simmer, Simmer, Simmer: Bring the chili to a simmer over medium heat. Once it’s simmering, reduce the heat to low, cover the pot, and let it simmer for at least 1 hour, or even longer if you have the time. The longer it simmers, the more the flavors will meld together and the chili will become richer and more complex. Stir the chili occasionally to prevent it from sticking to the bottom of the pot. If the chili becomes too thick during simmering, you can add a little more broth to thin it out. I often let mine simmer for 2-3 hours for maximum flavor!
- Taste and Adjust: After the chili has simmered for at least an hour, taste it and adjust the seasonings as needed. You might want to add more salt, pepper, chili powder, or cayenne pepper, depending on your preferences. Remember, you can always add more, but you can’t take it away!
Serving and Enjoying Your Chili
The moment you’ve been waiting for! It’s time to serve up your delicious homemade chili and enjoy the fruits of your labor.
- Serve it Up: Ladle the chili into bowls.
- Add Your Favorite Toppings: Now for the fun part – adding the toppings! I love to top my chili with shredded cheddar cheese, a dollop of sour cream, chopped green onions, and a few slices of avocado. Tortilla chips are also a great addition for dipping. Feel free to get creative and add whatever toppings you like! Some other popular options include:
- Diced tomatoes
- Chopped cilantro
- Hot sauce
- Jalapeño slices
- A squeeze of lime juice
- Enjoy!: Dig in and enjoy your warm, comforting bowl of homemade chili! It’s perfect for a cold winter day, a game-day gathering, or any time you’re craving a hearty and flavorful meal.
Tips and Variations
Want to customize your chili even further? Here are a few tips and variations to try:
- Add More Vegetables: Feel free to add other vegetables to your chili, such as corn, diced carrots, or zucchini.
- Use Different Beans: Experiment with different types of beans, such as pinto beans, great northern beans, or cannellini beans.
- Make it Vegetarian: To make this chili vegetarian, simply omit the ground beef and add more beans or vegetables. You can also use a vegetarian ground beef substitute.
- Slow Cooker Chili: This recipe can easily be adapted for the slow cooker. Simply brown the ground beef and sauté the vegetables as directed, then transfer everything to a slow cooker. Cook on low for 6-8 hours, or on high for 3-4 hours.
- Spicy Chili: For a spicier chili, add more cayenne pepper or a pinch of red pepper flakes. You can also use a spicier chili powder.
- Smoky Chili: For a smokier flavor, add a teaspoon of liquid smoke to the chili while it’s simmering.
- Sweet Chili: For a touch of sweetness, add a tablespoon of brown sugar or molasses to the chili while it’s simmering.
- Thickening the Chili: If your chili is too thin, you can thicken it by stirring in a tablespoon of cornstarch mixed with a tablespoon of cold water. Add the cornstarch slurry to the chili during the last 30 minutes of simmering.
- Freezing Chili: Chili freezes well, so feel free to make a big batch and freeze some for later. Let the chili cool completely before transferring it to freezer-safe containers or bags. It will keep in the freezer for up to 3 months. To thaw, simply transfer the chili to the refrigerator overnight.
Storage Instructions
Leftover chili can be stored in an airtight container in the refrigerator for up to 3-4 days. Reheat gently on the stovetop or in the microwave until heated through.
Nutritional Information (Approximate)
Please note that the nutritional information is an estimate and may vary depending on the specific ingredients used.
- Calories: Approximately 350-400 per serving
- Protein: 25-30 grams per serving
- Fat: 15-20 grams per serving
- Carbohydrates: 30-35 grams per serving
Enjoy your delicious and easy homemade chili!
Conclusion:
This Easy Homemade Chili recipe isn’t just another chili recipe; it’s a warm hug in a bowl, a flavor explosion that’s both comforting and exciting, and a guaranteed crowd-pleaser. I truly believe it’s a must-try for anyone who loves hearty, flavorful food, and especially for those who appreciate the satisfaction of creating something delicious from scratch. The depth of flavor you achieve with the combination of spices, the perfectly balanced heat, and the tender texture of the beef all come together to create a chili experience that’s simply unforgettable.
But the best part? It’s incredibly versatile! While I’ve shared my go-to version, the possibilities are endless. Feeling adventurous? Try adding a pinch of smoked paprika or a dash of cayenne pepper for an extra kick. Want to make it vegetarian? Simply substitute the ground beef with your favorite plant-based protein or a mix of hearty vegetables like butternut squash and sweet potatoes. You can even experiment with different types of beans – kidney beans, pinto beans, black beans – each will lend a unique flavor and texture to your chili.
Serving suggestions are just as flexible. Of course, a classic bowl of chili topped with shredded cheddar cheese, a dollop of sour cream, and a sprinkle of chopped green onions is always a winner. But don’t stop there! This chili is also fantastic served over cornbread, baked potatoes, or even nachos. For a lighter meal, try ladling it over a bed of quinoa or brown rice. And if you have any leftovers (which I highly doubt!), they’re perfect for chili dogs, chili mac, or even chili-stuffed bell peppers.
I’ve poured my heart and soul into perfecting this Easy Homemade Chili recipe, and I’m confident that you’ll love it as much as I do. It’s the perfect dish for a cozy night in, a casual gathering with friends, or a potluck party. It’s also a fantastic make-ahead meal, as the flavors only deepen and meld together over time. So, what are you waiting for? Gather your ingredients, put on some music, and get ready to create a culinary masterpiece.
Ready to embark on your chili-making adventure?
I truly encourage you to give this recipe a try. I’ve tried to make it as straightforward and easy to follow as possible, so even if you’re a beginner cook, you’ll be able to whip up a batch of this delicious chili with confidence. And remember, cooking is all about experimentation and having fun, so don’t be afraid to put your own spin on it and make it your own.
Once you’ve made it, I’d absolutely love to hear about your experience! Did you make any modifications? What toppings did you choose? What did your family and friends think? Share your photos, stories, and feedback in the comments below. Your insights will not only help other readers but will also inspire me to continue creating and sharing delicious recipes. Happy cooking, and I can’t wait to hear all about your chili-making adventures! Let me know if you have any questions, I’m always happy to help!
Easy Homemade Chili: The Ultimate Comfort Food Recipe
Hearty and flavorful homemade chili, simmered to perfection with ground beef, beans, and a blend of aromatic spices. Perfect for a cold day or game-day gathering!
Ingredients
Instructions
Recipe Notes
- Vegetable Variations: Add corn, diced carrots, or zucchini.
- Bean Variations: Use pinto beans, great northern beans, or cannellini beans.
- Vegetarian Option: Omit ground beef and add more beans or a vegetarian ground beef substitute.
- Slow Cooker Option: Brown beef and sauté vegetables, then transfer to a slow cooker. Cook on low for 6-8 hours or on high for 3-4 hours.
- Spicy Chili: Add more cayenne pepper or red pepper flakes.
- Smoky Chili: Add a teaspoon of liquid smoke.
- Sweet Chili: Add a tablespoon of brown sugar or molasses.
- Thickening Chili: If too thin, stir in a tablespoon of cornstarch mixed with a tablespoon of cold water during the last 30 minutes of simmering.
- Freezing Chili: Cool completely before freezing in freezer-safe containers for up to 3 months. Thaw in the refrigerator overnight.
- Storage: Store leftover chili in an airtight container in the refrigerator for up to 3-4 days. Reheat on the stovetop or in the microwave.