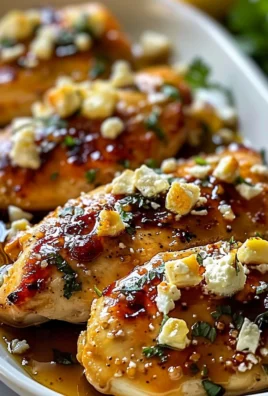
Melt in Mouth Chicken
Melt in Mouth Chicken: Have you ever tasted a chicken dish so tender, so juicy, it practically dissolves on your tongue? That’s the magic I’m about to share with you. This isn’t just any recipe; it’s a culinary experience designed to transport you to a place of pure comfort and deliciousness. I’ve perfected this Melt in Mouth Chicken recipe over years of experimentation, drawing inspiration from classic French techniques and my own love for simple, yet elegant flavors.
While the precise origins are difficult to pinpoint, the concept of incredibly tender chicken prepared with a delicate sauce has roots in various culinary traditions. Think of the classic French poulet rôti, or even the comforting roast chicken dishes found across many cultures. Each offers a unique take on achieving that perfect balance of crispy skin and succulent meat, a hallmark of truly exceptional Melt in Mouth Chicken.
People adore this dish for its unparalleled tenderness. The meat practically melts in your mouth, a testament to the careful cooking method I’ll be outlining. Beyond the texture, the flavor profile is incredibly versatile. You can easily adapt it to your preferences, adding herbs, spices, or a different sauce entirely. But the core principle remains: achieving that melt-in-your-mouth perfection. It’s a dish that’s both impressive enough for a special occasion yet simple enough for a weeknight dinner, making it a true crowd-pleaser.
So, are you ready to embark on this culinary adventure? Let’s get started and create some truly unforgettable Melt in Mouth Chicken together!

Ingredients:
- 1 whole chicken (about 3-4 pounds), cut into 8 pieces
- 1 cup all-purpose flour
- 1 teaspoon salt
- 1/2 teaspoon black pepper
- 1/2 teaspoon paprika
- 1/4 teaspoon garlic powder
- 1/4 teaspoon onion powder
- 1/2 teaspoon cayenne pepper (optional, for a little heat)
- 1/2 cup buttermilk
- 2 large eggs, lightly beaten
- Vegetable oil, for frying
- Salt and pepper, for seasoning after frying
Preparing the Chicken
- First, I like to pat the chicken pieces dry with paper towels. This is crucial for getting a nice crispy skin. Make sure to remove any excess moisture.
- In a large bowl, I whisk together the flour, salt, pepper, paprika, garlic powder, onion powder, and cayenne pepper (if using). I make sure everything is well combined.
- In a separate shallow dish, I whisk together the buttermilk and eggs. This mixture will help tenderize the chicken and give it a beautiful golden-brown color.
- Now comes the fun part! I dredge each chicken piece in the flour mixture, ensuring it’s fully coated. Then, I dip it into the buttermilk mixture, making sure it’s completely submerged. Finally, I coat it again with the flour mixture, pressing gently to help the flour adhere.
- I set the coated chicken pieces aside on a wire rack or plate. This allows the coating to set and prevents it from becoming soggy.
The Frying Process
- I pour enough vegetable oil into a large, heavy-bottomed skillet or Dutch oven to reach a depth of about 2 inches. It’s important to use a heavy-bottomed pan to maintain even heat.
- I heat the oil over medium-high heat. To check if the oil is ready, I drop a small piece of the chicken batter into the oil. If it sizzles immediately and starts to brown quickly, the oil is at the right temperature (around 350°F or 175°C). If it doesn’t sizzle, I let the oil heat up a bit more.
- Carefully place the chicken pieces in the hot oil, making sure not to overcrowd the pan. Overcrowding will lower the oil temperature and result in soggy chicken instead of crispy chicken. I usually fry in batches to ensure even cooking.
- Fry the chicken for about 6-8 minutes per side, or until it’s golden brown and cooked through. I use tongs to gently turn the chicken pieces, ensuring they brown evenly on all sides. Don’t rush this step!
- Once the chicken is cooked through, I remove it from the oil and place it on a wire rack set over a baking sheet to drain excess oil. This helps maintain the crispiness.
Resting and Serving
- After frying, I let the chicken rest for about 5-10 minutes before serving. This allows the juices to redistribute, resulting in more tender and flavorful chicken.
- Finally, I season the rested chicken with a little extra salt and pepper to taste. I serve it hot and enjoy the melt-in-your-mouth goodness!
- Tip: For extra crispy skin, you can bake the fried chicken in a preheated oven at 350°F (175°C) for about 10-15 minutes after frying. This will help crisp up the skin even further.
- Serving Suggestions: This melt-in-your-mouth chicken is delicious on its own, but it also pairs wonderfully with various sides. Consider serving it with mashed potatoes, coleslaw, potato salad, or your favorite dipping sauce.
- Storage: Leftover chicken can be stored in an airtight container in the refrigerator for up to 3 days. You can reheat it in the oven or microwave.
- Variations: Feel free to experiment with different spices and herbs in the flour mixture. You can add herbs like thyme, rosemary, or oregano for a more aromatic flavor. You can also use different types of oil for frying, such as peanut oil or canola oil.
- Troubleshooting: If your chicken is not crispy enough, it might be because the oil wasn’t hot enough or the chicken was overcrowded. If it’s too dry, you might have overcooked it. Adjust the cooking time and oil temperature accordingly.
- Enjoy! This recipe is a guaranteed crowd-pleaser. The crispy, juicy chicken will leave everyone wanting more.
Conclusion:
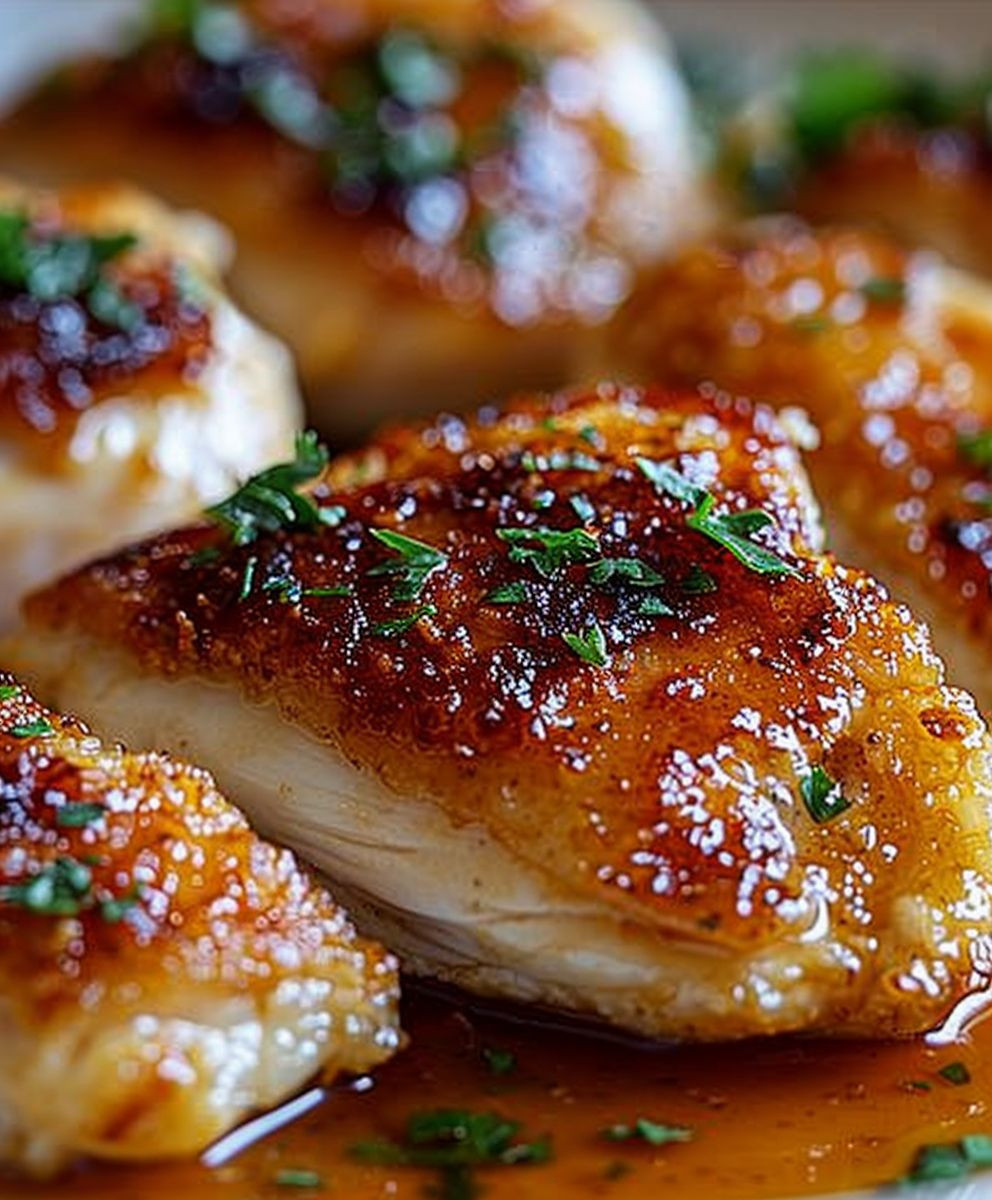
So there you have it – my Melt in Mouth Chicken recipe! I truly believe this dish is a must-try for anyone who loves tender, juicy chicken with a flavorful, crispy skin. It’s the perfect balance of simplicity and sophistication, achievable even for beginner cooks. The secret, of course, lies in the careful brining process, which ensures the chicken stays incredibly moist and flavorful throughout cooking. And let’s not forget that unbelievably satisfying crunch you get with the perfectly browned skin – it’s truly melt-in-your-mouth delicious!
This recipe isn’t just about the taste; it’s about the experience. Imagine the aroma filling your kitchen as the chicken roasts, the satisfying sizzle as you sear the skin, and the sheer joy of sharing this culinary masterpiece with loved ones. It’s a dish that elevates a simple weeknight dinner to a memorable occasion, perfect for impressing guests or simply treating yourself to something special.
Serving Suggestions:
The versatility of this Melt in Mouth Chicken is one of its greatest strengths. It pairs beautifully with a wide range of sides, allowing you to tailor the meal to your preferences. I personally love serving it with creamy mashed potatoes, their richness complementing the chicken’s savory flavor. A simple green salad with a light vinaigrette adds a refreshing counterpoint to the richness of the dish. Roasted vegetables, such as asparagus or Brussels sprouts, also make excellent accompaniments, adding a touch of healthy goodness to the meal.
For a more complete meal, consider serving it with a flavorful gravy made from the pan drippings. The gravy adds another layer of flavor and helps to soak up all those delicious juices. Alternatively, a vibrant salsa or a zesty chimichurri sauce can provide a refreshing contrast to the richness of the chicken. Don’t be afraid to experiment and find your perfect combination!
Variations:
While the recipe as written is already fantastic, there are endless possibilities for customization. Feel free to add your favorite herbs and spices to the brine for an extra layer of flavor. Rosemary, thyme, and garlic are all excellent choices. You could also experiment with different marinades, such as a lemon-herb marinade or a spicy chili marinade, to create a unique flavor profile.
For a healthier option, you can bake the chicken instead of pan-frying it. Simply adjust the cooking time accordingly. And if you’re short on time, you can use boneless, skinless chicken breasts, although the results might not be quite as impressive in terms of texture. However, the flavor will still be amazing!
Ultimately, the best Melt in Mouth Chicken is the one you create! Don’t be afraid to experiment and make it your own. The beauty of cooking is in the freedom to personalize recipes and discover new flavors.
I encourage you to try this recipe and share your experience with me! Let me know how it turned out, what variations you tried, and what sides you paired it with. I’d love to hear your feedback and see your culinary creations. Share your photos on social media using #MeltinMouthChicken – I can’t wait to see what you cook!
Happy cooking!
Melt in Mouth Chicken: The Ultimate Recipe Guide
Crispy and juicy fried chicken made with a simple buttermilk brine and flavorful spice blend.
Ingredients
Instructions
Recipe Notes
- For extra crispy skin: Bake fried chicken at 350°F (175°C) for 10-15 minutes after frying.
- Serving Suggestions: Mashed potatoes, coleslaw, potato salad, dipping sauces.
- Storage: Refrigerate leftovers in an airtight container for up to 3 days. Reheat in oven or microwave.
- Variations: Experiment with different herbs and spices in the flour mixture (thyme, rosemary, oregano). Use peanut or canola oil for frying.
- Troubleshooting: If chicken isn’t crispy, oil may not have been hot enough or pan was overcrowded. If chicken is dry, it may have been overcooked. Adjust cooking time and oil temperature accordingly.