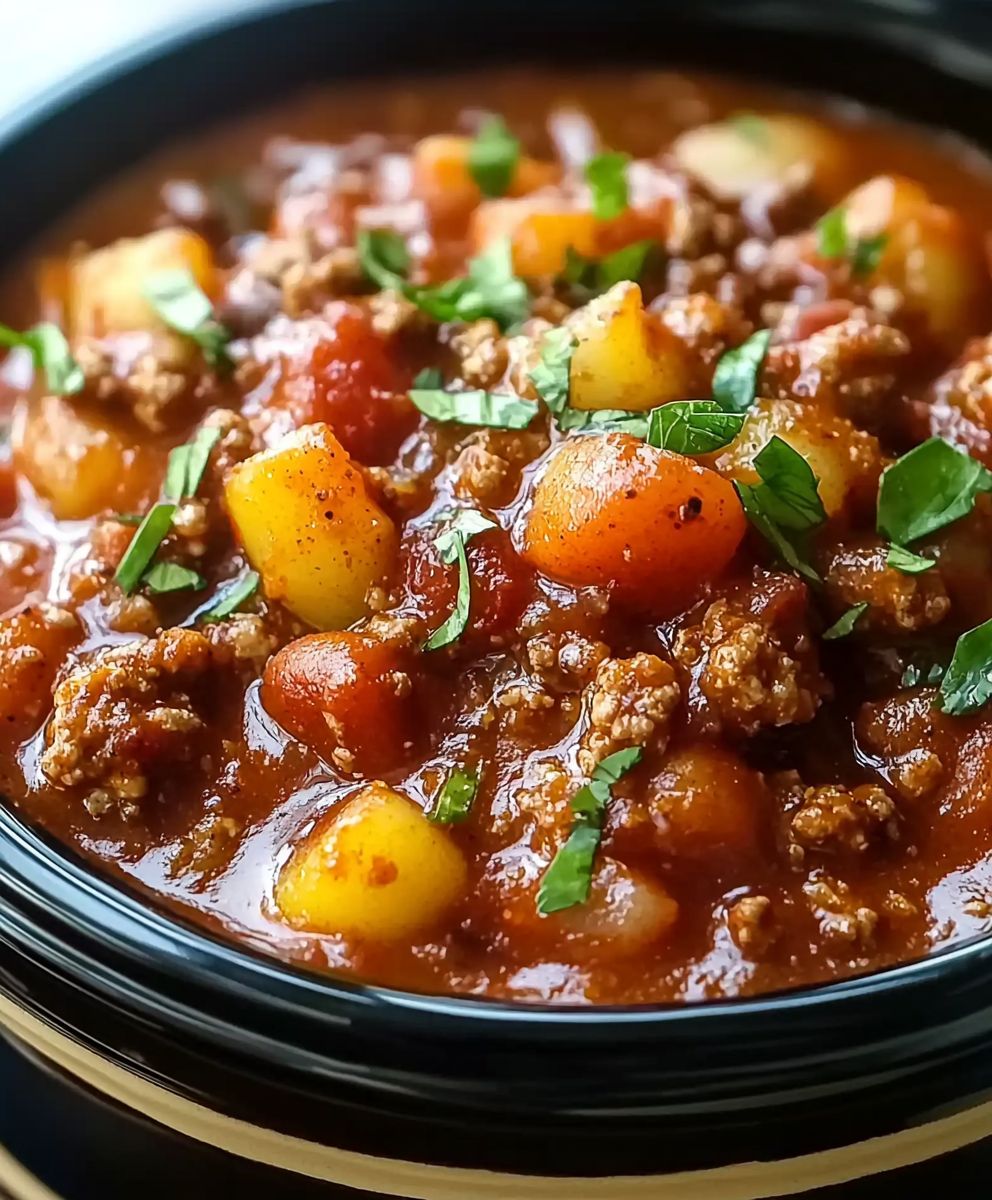
Wendy’s Copycat Chili is a dish that brings the beloved flavors of the fast-food chain right into your kitchen. As a fan of Wendy’s hearty chili, I was thrilled to discover a way to recreate this iconic recipe at home. This chili is not just a meal; it’s a comforting bowl of warmth that has been enjoyed by many for decades. Originating from the heart of America, Wendy’s chili has become a staple for those seeking a quick yet satisfying option, especially during the colder months.
People love this dish for its rich, savory taste and the delightful combination of textures from the tender beans and ground beef. The convenience of making Wendy’s Copycat Chili at home means you can enjoy it anytime, whether it’s a busy weeknight or a cozy weekend gathering. Plus, the aroma that fills your kitchen while it simmers is simply irresistible! Join me as we dive into this easy-to-follow recipe that will have you savoring every spoonful of this classic favorite.

Ingredients:
- 2 pounds ground beef
- 1 medium onion, chopped
- 1 green bell pepper, chopped
- 2 cloves garlic, minced
- 1 (15-ounce) can kidney beans, drained and rinsed
- 1 (15-ounce) can pinto beans, drained and rinsed
- 1 (28-ounce) can crushed tomatoes
- 2 tablespoons tomato paste
- 1 cup beef broth
- 2 tablespoons chili powder
- 1 tablespoon ground cumin
- 1 teaspoon dried oregano
- 1 teaspoon salt
- 1/2 teaspoon black pepper
- 1/2 teaspoon cayenne pepper (optional, for heat)
- 1 tablespoon Worcestershire sauce
- 1 tablespoon olive oil
Preparing the Ingredients
1. Start by gathering all your ingredients. This makes the cooking process smoother and more enjoyable. I like to have everything prepped and ready to go before I start cooking. 2. Chop the onion and green bell pepper into small pieces. I find that a uniform size helps them cook evenly. Mince the garlic cloves as well. 3. Drain and rinse the kidney and pinto beans in a colander. This helps remove excess sodium and any canning liquid that might affect the flavor of the chili.Cooking the Beef
4. In a large pot or Dutch oven, heat the olive oil over medium heat. Once the oil is hot, add the chopped onion and green bell pepper. Sauté for about 5 minutes, or until the vegetables are softened and the onion is translucent. 5. Add the minced garlic to the pot and cook for an additional minute, stirring frequently to prevent burning. The aroma will be fantastic! 6. Now, it’s time to add the ground beef. Break it up with a wooden spoon and cook until it’s browned and no longer pink, about 7-10 minutes. Make sure to drain any excess fat if necessary.Building the Chili Base
7. Once the beef is browned, stir in the tomato paste. This will add a rich flavor to the chili. Cook for about 2 minutes, allowing the paste to caramelize slightly. 8. Next, pour in the crushed tomatoes and beef broth. Stir everything together until well combined. 9. Now, it’s time to add the beans. Gently fold in the kidney and pinto beans, ensuring they are evenly distributed throughout the mixture. 10. Season the chili with chili powder, ground cumin, dried oregano, salt, black pepper, and cayenne pepper (if using). Stir well to incorporate all the spices into the mixture. 11. Finally, add the Worcestershire sauce. This adds a depth of flavor that really enhances the overall taste of the chili.Simmering the Chili
12. Bring the chili to a gentle boil over medium-high heat. Once it reaches a boil, reduce the heat to low and cover the pot. Let it simmer for at least 30 minutes, stirring occasionally. This allows the flavors to meld beautifully. 13. If you have the time, I recommend letting it simmer for up to 1-2 hours. The longer it cooks, the more flavorful it becomes. Just make sure to stir it occasionally and check that it doesn’t stick to the bottom of the pot.Tasting and Adjusting Seasoning
14. After simmering, taste the chili. This is the fun part! You can adjust the seasoning to your liking. If you prefer it spicier, add more cayenne pepper or chili powder. If it’s too thick, you can add a bit more beef broth to reach your desired consistency. 15. If you find it too acidic, a pinch of sugar can help balance the flavors. Just a little goes a long way!Serving the Chili
16. Once you’re satisfied with the flavor, it’s time to serve! Ladle the chili into bowls. I love to top mine with shredded cheese, sour cream, and chopped green onions for added flavor and texture. 17. You can also serve it with cornbread or over a bed of rice for a heartier meal. It’s perfect for a cozy night in or for feeding a crowd.Storing Leftovers
18. If you have any leftovers (which is rare because it’s so delicious!), let the chili cool completely