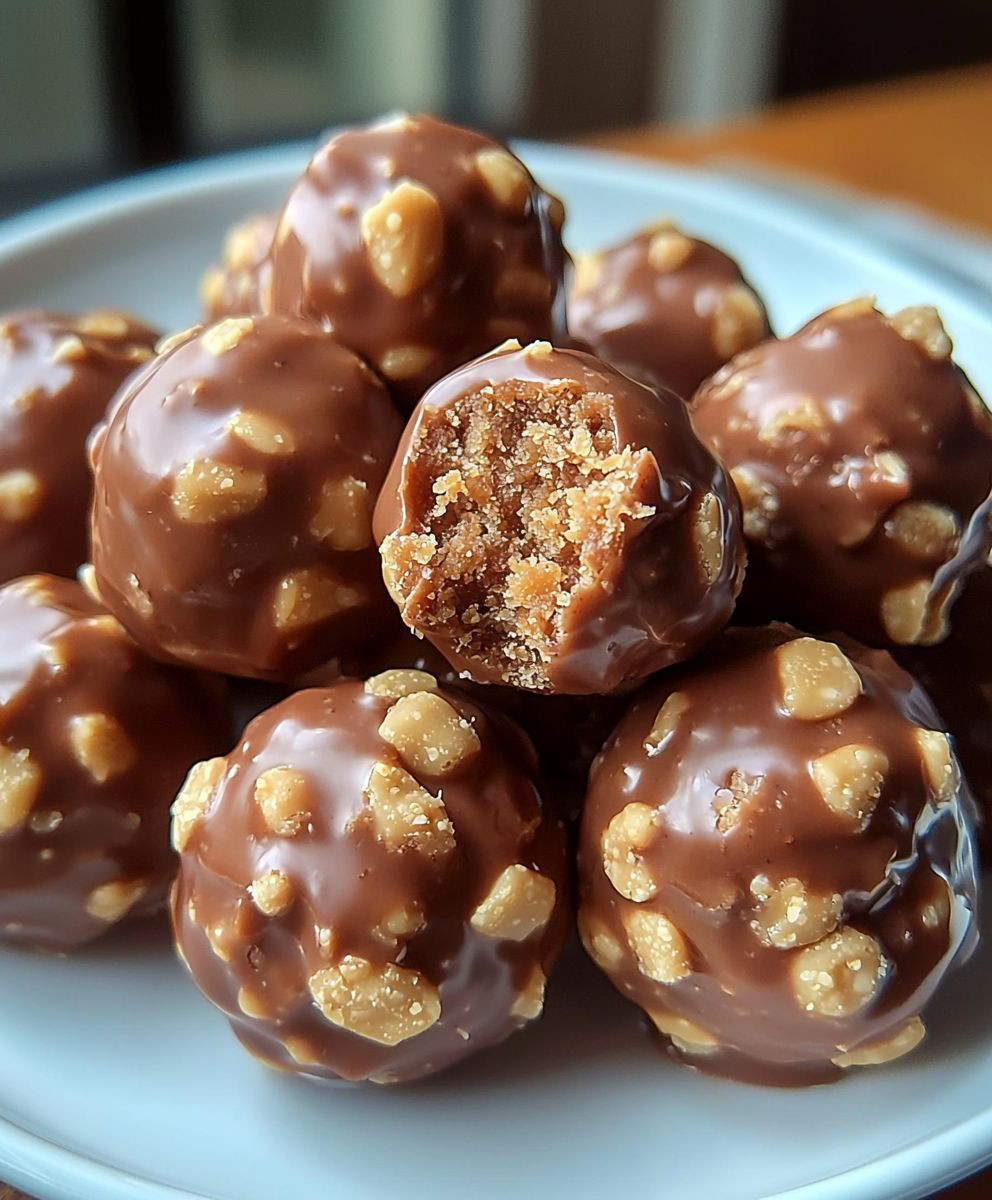
Butterfinger Dessert Balls are a delightful treat that brings a nostalgic twist to any gathering. As a fan of sweet indulgences, I can confidently say that these little bites of heaven are not just a dessert; they are a celebration of flavors and textures that everyone loves. The combination of creamy peanut butter, crunchy Butterfinger candy, and a smooth chocolate coating creates a mouthwatering experience that is hard to resist.
Originating from the classic Butterfinger candy bar, these dessert balls have become a popular choice for parties, potlucks, and family gatherings. Their convenience and no-bake nature make them an ideal option for those who want to whip up something special without spending hours in the kitchen. People adore Butterfinger Dessert Balls not only for their rich, sweet taste but also for the satisfying crunch that comes with each bite. Join me as we dive into this easy recipe that is sure to impress your friends and family!

Ingredients:
- 1 cup Butterfinger candy bars, crushed (about 4-5 bars)
- 1 cup creamy peanut butter
- 1 cup powdered sugar
- 1 cup graham cracker crumbs
- 1 cup semi-sweet chocolate chips
- 1 tablespoon coconut oil (optional, for melting chocolate)
- Extra crushed Butterfinger for topping (optional)
Preparing the Mixture
Let’s get started on these delicious Butterfinger Dessert Balls! First, we need to prepare the mixture that will form the base of our dessert balls.
- In a large mixing bowl, combine the crushed Butterfinger candy bars and creamy peanut butter. I like to use a spatula to mix them together until they are well combined. The peanut butter should coat the Butterfinger pieces nicely.
- Next, add the powdered sugar to the mixture. This will help to sweeten the dessert balls and give them a nice texture. Mix it in thoroughly until there are no dry spots left.
- Now, it’s time to add the graham cracker crumbs. This will give our dessert balls a delightful crunch and help bind everything together. Stir until the mixture is well combined and forms a thick dough-like consistency.
- Once everything is mixed, I like to use my hands to knead the mixture a bit. This helps to ensure that all the ingredients are evenly distributed. If the mixture feels too sticky, you can add a little more graham cracker crumbs.
Forming the Balls
Now that we have our mixture ready, it’s time to form the dessert balls.
- Using a small cookie scoop or your hands, take about a tablespoon of the mixture and roll it into a ball. I find that wetting my hands slightly helps prevent the mixture from sticking to my palms.
- Place the rolled balls onto a baking sheet lined with parchment paper. Make sure to leave some space between each ball, as they may slightly expand while chilling.
- Continue rolling the mixture until all of it is formed into balls. You should end up with about 20-25 dessert balls, depending on the size you make them.
- Once all the balls are formed, place the baking sheet in the refrigerator for about 30 minutes. This will help them firm up and make them easier to coat in chocolate later.
Melting the Chocolate
While the dessert balls are chilling, let’s prepare the chocolate coating.
- In a microwave-safe bowl, combine the semi-sweet chocolate chips and coconut oil (if using). The coconut oil helps to give the chocolate a smoother consistency and makes it easier to coat the balls.
- Microwave the chocolate in 30-second intervals, stirring in between each interval until the chocolate is completely melted and smooth. Be careful not to overheat the chocolate, as it can seize up.
- Once melted, remove the bowl from the microwave and let it cool for a minute or two. This will prevent the chocolate from being too hot when we dip the dessert balls.
Coating the Dessert Balls
Now comes the fun part—coating our dessert balls in chocolate!
- Take the chilled dessert balls out of the refrigerator. Using a fork or a toothpick, dip each ball into the melted chocolate, making sure to coat it completely.
- Allow any excess chocolate to drip off before placing the coated ball back onto the parchment-lined baking sheet. I like to gently tap the fork against the edge of the bowl to help remove excess chocolate.
- If you want to add a little extra flair, sprinkle some crushed Butterfinger on top of the chocolate-coated balls before the chocolate sets. This adds a nice touch and makes them look even more appealing!
- Repeat the dipping process for all the dessert balls until they are all coated in chocolate.
Chilling and Serving
After all the dessert balls are coated, it’s time to let them set.
- Place the baking sheet back in the refrigerator for about 30 minutes, or until the chocolate has completely hardened. This step is crucial, as it ensures that the chocolate coating is
Conclusion:
In summary, these Butterfinger Dessert Balls are an absolute must-try for anyone with a sweet tooth! The delightful combination of creamy peanut butter, crunchy Butterfinger pieces, and a smooth chocolate coating creates a treat that is simply irresistible. Whether you’re looking for a quick dessert to impress guests or a fun snack to enjoy with family, these dessert balls are sure to be a hit. For serving suggestions, consider pairing these delicious bites with a scoop of vanilla ice cream or a drizzle of caramel sauce for an extra indulgent experience. You can also experiment with variations by substituting the Butterfinger with other candy bars like Reese’s or Snickers, or even adding a sprinkle of sea salt on top for a sweet and salty twist. I encourage you to give this recipe a try and share your experience! I would love to hear how your Butterfinger Dessert Balls turn out and any creative twists you might add. So roll up your sleeves, gather your ingredients, and get ready to enjoy a delightful treat that will have everyone coming back for more! Happy baking! Print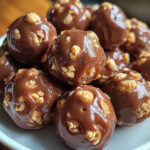
Butterfinger Dessert Balls: Easy No-Bake Recipe for a Sweet Treat
- Total Time: 80 minutes
- Yield: 20-25 dessert balls
Description
Indulge in these delightful Butterfinger Dessert Balls, featuring a perfect blend of crushed Butterfinger candy, creamy peanut butter, and a rich chocolate coating. These no-bake treats are easy to make and sure to satisfy your sweet tooth!
Ingredients
- Crushed Butterfinger candy
- Creamy peanut butter
- Semi-sweet chocolate (or milk chocolate or white chocolate)
Instructions
- Once the chocolate has set, your Butterfinger Dessert Balls are ready to be served!
- You can enjoy them right away or store them in an airtight container in the refrigerator for up to a week.
Notes
- Feel free to adjust the amount of crushed Butterfinger on top based on your preference.
- If you prefer a different type of chocolate, you can use milk chocolate or white chocolate instead of semi-sweet.
- These dessert balls can also be frozen for longer storage. Just make sure to place them in a freezer-safe container.
- Prep Time: 20 minutes
- Cook Time: 60 minutes