Fried Strawberry Cheesecake Sandwiches are a delightful twist on two beloved desserts, combining the creamy richness of cheesecake with the sweet, juicy flavor of strawberries, all encased in a crispy, golden-brown exterior. This indulgent treat has its roots in the classic American dessert culture, where creativity in the kitchen often leads to mouthwatering innovations. I remember the first time I tried this dish; the contrast of the warm, crunchy bread with the cool, velvety cheesecake filling was simply unforgettable.
People adore Fried Strawberry Cheesecake Sandwiches not just for their incredible taste, but also for their delightful texture. The crispy outer layer gives way to a luscious filling that bursts with flavor, making each bite a heavenly experience. Plus, they are surprisingly easy to prepare, making them a perfect choice for gatherings or a special treat at home. Join me as we dive into this delicious recipe that is sure to impress your family and friends!

Ingredients:
- 8 ounces cream cheese, softened
- 1/2 cup powdered sugar
- 1 teaspoon vanilla extract
- 1 cup fresh strawberries, hulled and sliced
- 8 slices of bread (white or brioche works best)
- 1/2 cup all-purpose flour
- 2 large eggs
- 1 cup breadcrumbs (panko or regular)
- 1 teaspoon cinnamon (optional)
- 1/4 cup granulated sugar (for coating)
- Vegetable oil (for frying)
- Whipped cream (for serving, optional)
- Chocolate sauce (for drizzling, optional)
Preparing the Filling
First things first, let’s whip up that delicious cheesecake filling. It’s the heart of our fried strawberry cheesecake sandwiches!
- In a medium mixing bowl, add the softened cream cheese. Make sure it’s at room temperature for easy mixing.
- Using a hand mixer or a whisk, beat the cream cheese until it’s smooth and creamy.
- Add in the powdered sugar and vanilla extract. Continue to mix until everything is well combined and fluffy. This should take about 2-3 minutes.
- Gently fold in the sliced strawberries. You want to keep some of the strawberry pieces intact for that lovely texture and flavor.
Preparing the Bread
Now that our filling is ready, let’s prepare the bread. This is where the magic happens!
- Take your slices of bread and lay them out on a clean surface. You can use a cutting board or a large plate.
- Spread a generous amount of the cheesecake filling on one side of each slice. Be sure to leave a little space around the edges to prevent overflow when we fry them.
- Top half of the slices with another slice of bread, pressing down gently to create a sandwich. Make sure the filling is evenly distributed.
Coating the Sandwiches
Next, we’ll get our sandwiches ready for frying with a delicious coating!
- In a shallow dish, add the all-purpose flour. This will be our first layer of coating.
- In another shallow dish, crack the two large eggs and whisk them until they are well beaten.
- In a third shallow dish, combine the breadcrumbs and granulated sugar. If you like a hint of spice, add the cinnamon here as well.
- Take each sandwich and first dip it into the flour, making sure to coat both sides. Shake off any excess flour.
- Next, dip the floured sandwich into the beaten eggs, ensuring it’s fully coated.
- Finally, press the sandwich into the breadcrumb mixture, coating both sides thoroughly. This will give it that crispy, golden exterior when fried.
Frying the Sandwiches
Now comes the fun part—frying! This is where our sandwiches transform into crispy, gooey delights.
- In a large skillet or frying pan, pour enough vegetable oil to cover the bottom of the pan by about 1/2 inch. Heat the oil over medium heat until it’s hot but not smoking. You can test the oil by dropping a small piece of bread in; if it sizzles, it’s ready!
- Carefully place 2-3 sandwiches in the hot oil, depending on the size of your pan. Don’t overcrowd the pan, as this will lower the oil temperature and result in soggy sandwiches.
- Fry the sandwiches for about 2-3 minutes on each side, or until they are golden brown and crispy. Use tongs to flip them gently.
- Once they are cooked, remove the sandwiches from the oil and place them on a plate lined with paper towels to absorb any excess oil.
- Repeat the frying process with the remaining sandwiches, adding more oil to the pan as needed.
Assembling and Serving
Now that our fried strawberry cheesecake sandwiches are ready, let’s assemble and serve them up
Conclusion:
In conclusion, these Fried Strawberry Cheesecake Sandwiches are an absolute must-try for anyone looking to indulge in a delightful dessert that combines the creamy richness of cheesecake with the sweet, juicy flavor of strawberries, all wrapped in a crispy, golden-brown exterior. The contrast of textures and flavors makes each bite a heavenly experience that you won’t soon forget. For serving suggestions, I recommend dusting them with a light sprinkle of powdered sugar or drizzling some chocolate sauce on top for an extra touch of decadence. You can also experiment with variations by swapping out strawberries for other fruits like blueberries or raspberries, or even adding a hint of lemon zest to the cheesecake filling for a refreshing twist. I truly encourage you to give this recipe a try and share your experience with friends and family. Whether you’re serving them at a gathering or enjoying them as a special treat for yourself, these Fried Strawberry Cheesecake Sandwiches are sure to impress. Don’t forget to let me know how they turn out for you! Happy cooking! Print
Fried Strawberry Cheesecake Sandwiches: A Deliciously Indulgent Treat
- Total Time: 35 minutes
- Yield: 4 servings 1x
Description
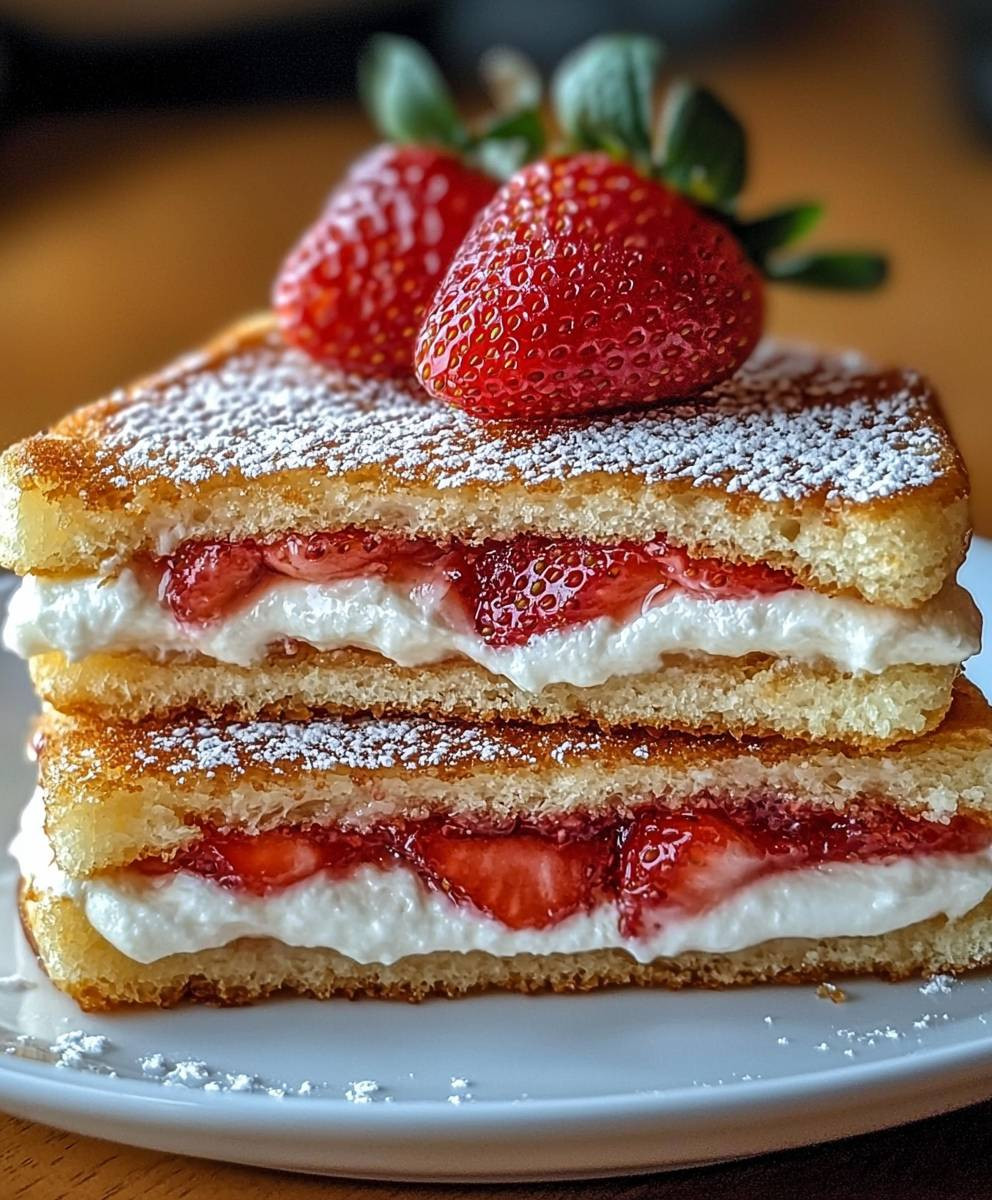
Enjoy the crispy, golden-brown Fried Strawberry Cheesecake Sandwiches filled with a creamy strawberry cheesecake mixture. Perfect for breakfast or dessert, these indulgent treats are sure to satisfy your sweet cravings!
Ingredients
- 8 ounces cream cheese, softened
- 1/2 cup powdered sugar
- 1 teaspoon vanilla extract
- 1 cup fresh strawberries, hulled and sliced
- 8 slices of bread (white or brioche works best)
- 1/2 cup all-purpose flour
- 2 large eggs
- 1 cup breadcrumbs (panko or regular)
- 1 teaspoon cinnamon (optional)
- 1/4 cup granulated sugar (for coating)
- Vegetable oil (for frying)
- Whipped cream (for serving, optional)
- Chocolate sauce (for drizzling, optional)
Instructions
- In a medium mixing bowl, add the softened cream cheese. Ensure it’s at room temperature for easy mixing.
- Using a hand mixer or a whisk, beat the cream cheese until smooth and creamy.
- Add in the powdered sugar and vanilla extract. Continue to mix until well combined and fluffy (about 2-3 minutes).
- Gently fold in the sliced strawberries, keeping some pieces intact for texture.
- Lay out the slices of bread on a clean surface.
- Spread a generous amount of the cheesecake filling on one side of each slice, leaving space around the edges.
- Top half of the slices with another slice of bread, pressing down gently to create a sandwich.
- In a shallow dish, add the all-purpose flour for the first layer of coating.
- In another shallow dish, crack the two large eggs and whisk until well beaten.
- In a third shallow dish, combine the breadcrumbs and granulated sugar. Add cinnamon if desired.
- Dip each sandwich into the flour, coating both sides and shaking off excess.
- Next, dip the floured sandwich into the beaten eggs, ensuring full coverage.
- Finally, press the sandwich into the breadcrumb mixture, coating both sides thoroughly.
- In a large skillet, pour enough vegetable oil to cover the bottom by about 1/2 inch. Heat over medium until hot but not smoking.
- Carefully place 2-3 sandwiches in the hot oil, avoiding overcrowding.
- Fry for about 2-3 minutes on each side until golden brown and crispy. Use tongs to flip gently.
- Remove cooked sandwiches and place them on a plate lined with paper towels to absorb excess oil.
- Repeat with remaining sandwiches, adding more oil as needed.
- Serve the fried strawberry cheesecake sandwiches warm, optionally topped with whipped cream and drizzled with chocolate sauce.
Notes
- For a twist, try adding other fruits like blueberries or raspberries to the filling.
- Ensure the oil is at the right temperature to achieve a crispy texture without burning.
- Prep Time: 20 minutes
- Cook Time: 15 minutes