Butterfinger Fudge: just the name alone conjures up images of sweet, peanut-buttery bliss, doesn’t it? Imagine sinking your teeth into a creamy, melt-in-your-mouth fudge, punctuated by the unmistakable, crispy crunch of Butterfinger candy bars. This isn’t just any fudge; it’s a decadent treat that’s surprisingly easy to make, perfect for satisfying your sweet tooth or wowing guests at your next gathering.
While fudge itself has a rich history dating back to the late 19th century, often attributed to a happy accident in a candy shop, the addition of Butterfinger is a modern twist that elevates this classic dessert to a whole new level. The combination is simply irresistible! The smooth, rich fudge provides the perfect canvas for the Butterfinger’s unique flavor and texture.
People adore this Butterfinger Fudge because it’s the ultimate comfort food. The taste is a nostalgic trip back to childhood, while the texture is a delightful contrast between creamy and crunchy. Plus, let’s be honest, who can resist the allure of a homemade treat that requires minimal effort? This recipe is so simple, even beginner bakers can achieve fudge-making success. So, get ready to experience the magic of Butterfinger Fudge – you won’t be disappointed!

Ingredients:
- 1 (16 ounce) package chocolate fudge frosting
- 1 (12 ounce) package semi-sweet chocolate chips
- 1/2 cup creamy peanut butter
- 1/4 cup milk
- 10 fun-size Butterfinger candy bars, coarsely chopped (about 1 1/2 cups)
Preparing the Fudge Base
Alright, let’s get started! This Butterfinger Fudge is seriously addictive, so be warned! The first step is creating that rich, chocolatey base that will make this fudge so decadent.
- Combine the frosting, chocolate chips, peanut butter, and milk in a saucepan. Grab a medium-sized saucepan – nothing too big, nothing too small. We want enough room to stir comfortably without making a huge mess. Add the entire container of chocolate fudge frosting, the bag of semi-sweet chocolate chips, the creamy peanut butter, and the milk. Don’t skimp on the peanut butter; it adds a wonderful depth of flavor that complements the Butterfingers perfectly.
- Melt over low heat, stirring constantly. This is crucial! We don’t want the chocolate to burn. Set your stovetop to low heat and place the saucepan on the burner. Now, grab a spatula (a silicone one works best) and start stirring. Keep stirring continuously, making sure to scrape the bottom and sides of the pan to prevent any sticking or burning. The mixture will gradually melt and become smooth and glossy. This process usually takes about 5-7 minutes, so be patient.
- Continue stirring until completely smooth. Keep stirring until you have a completely smooth and homogenous mixture. There should be no lumps of chocolate chips or peanut butter remaining. The mixture should be thick and glossy, almost like a chocolate ganache. This is the foundation of our amazing fudge!
Adding the Butterfinger Crunch
Now for the fun part! This is where the magic happens and we transform our chocolate base into Butterfinger Fudge. The chopped Butterfingers add that signature crunch and peanut buttery flavor that we all love.
- Remove from heat. Once the chocolate mixture is perfectly smooth, take the saucepan off the heat. We don’t want to continue cooking it, as it could become too thick or even burn.
- Stir in the chopped Butterfinger candy bars. Add the coarsely chopped Butterfinger candy bars to the melted chocolate mixture. Make sure they are evenly distributed throughout the mixture. You can use a spatula or a wooden spoon to gently fold them in. Don’t overmix, just make sure they are well incorporated.
- Reserve a small amount of chopped Butterfingers for topping (optional). If you want to make your fudge extra pretty, reserve a small handful of the chopped Butterfingers to sprinkle on top after it’s set. This adds a nice visual appeal and gives people a sneak peek of what’s inside.
Setting the Fudge
Almost there! Now we just need to let the fudge set and firm up. This is the hardest part because you have to resist the urge to dig in right away!
- Prepare an 8×8 inch baking dish. Line an 8×8 inch baking dish with parchment paper. This will make it super easy to remove the fudge later without any sticking. Make sure the parchment paper overhangs the sides of the dish; this will act as handles to lift the fudge out. If you don’t have parchment paper, you can grease the dish with butter or cooking spray.
- Pour the fudge mixture into the prepared dish. Pour the Butterfinger fudge mixture into the prepared baking dish. Spread it evenly with a spatula or the back of a spoon. Make sure the surface is smooth and level.
- Sprinkle with reserved chopped Butterfingers (optional). If you reserved some chopped Butterfingers, now is the time to sprinkle them on top of the fudge. Gently press them into the surface so they adhere to the fudge.
- Refrigerate for at least 2 hours, or until firm. Cover the baking dish with plastic wrap and place it in the refrigerator. Let the fudge chill for at least 2 hours, or preferably longer, until it is completely firm. This allows the chocolate to set and the flavors to meld together.
Cutting and Serving
The moment we’ve all been waiting for! Time to cut and enjoy our delicious Butterfinger Fudge.
- Remove the fudge from the dish using the parchment paper overhang. Once the fudge is firm, lift it out of the baking dish using the parchment paper overhang. Place it on a cutting board.
- Cut into squares. Use a sharp knife to cut the fudge into squares. The size of the squares is up to you, but I usually cut them into 1-inch squares. You may need to wipe the knife clean between cuts to prevent the fudge from sticking.
- Store in an airtight container in the refrigerator. Store the cut fudge in an airtight container in the refrigerator. This will keep it fresh and prevent it from becoming too soft.
- Enjoy! Now, grab a piece (or two!) and enjoy your homemade Butterfinger Fudge. It’s perfect for parties, holidays, or just a sweet treat any time of day.
Tips and Variations:
- Use different types of chocolate chips. Experiment with different types of chocolate chips, such as milk chocolate, dark chocolate, or even white chocolate. Each type will give the fudge a slightly different flavor.
- Add other candy. Get creative and add other types of candy to the fudge, such as Reese’s Pieces, M&Ms, or chopped Snickers bars.
- Add nuts. For a nutty twist, add chopped peanuts, walnuts, or pecans to the fudge.
- Make it a layered fudge. Create a layered fudge by pouring half of the chocolate mixture into the dish, adding a layer of peanut butter, and then pouring the remaining chocolate mixture on top.
- Microwave Method: If you’re short on time, you can melt the chocolate chips, frosting, peanut butter, and milk in the microwave. Heat in 30-second intervals, stirring in between, until smooth. Be careful not to overheat the chocolate.
- For a richer flavor: Use high-quality chocolate chips and frosting. The better the ingredients, the better the fudge will taste.
- Prevent sticking: Lightly grease your knife with cooking spray before cutting the fudge. This will help prevent it from sticking and make for cleaner cuts.
Troubleshooting:
- Fudge is too soft: If your fudge is too soft, it may not have chilled long enough. Place it back in the refrigerator for a longer period of time. Alternatively, you may have used too much milk.
- Fudge is too hard: If your fudge is too hard, it may have been overcooked. Next time, be sure to melt the chocolate over low heat and stir constantly.
- Fudge is grainy: Grainy fudge can be caused by overheating the chocolate or not stirring enough. Make sure to melt the chocolate over low heat and stir constantly until smooth.
I hope you enjoy this recipe as much as I do! It’s a guaranteed crowd-pleaser and a perfect way to satisfy your sweet tooth. Happy baking!
Conclusion:
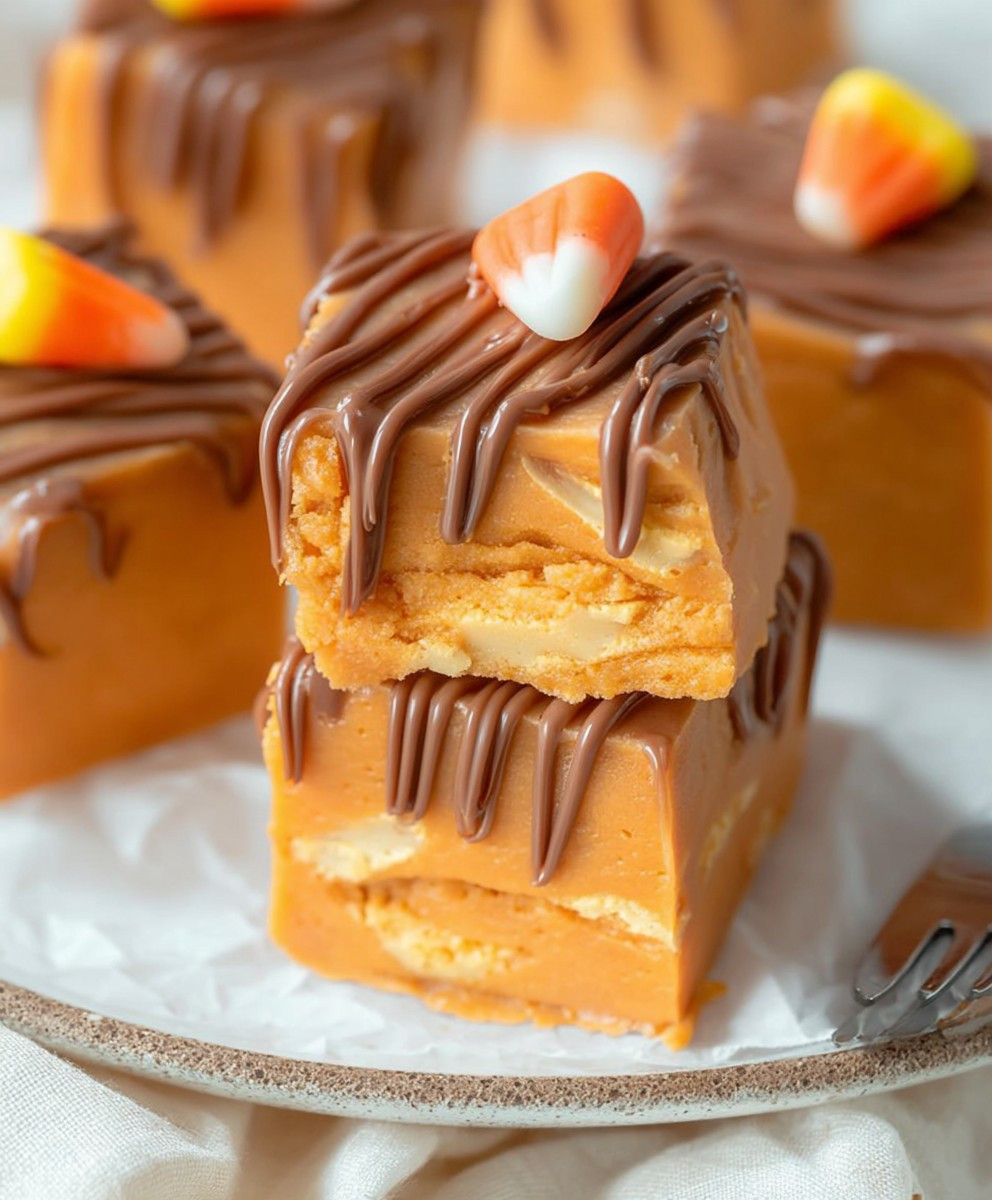
This Butterfinger Fudge recipe is more than just a sweet treat; it’s a nostalgic trip down memory lane combined with a decadent, melt-in-your-mouth experience that’s surprisingly easy to achieve. If you’re looking for a show-stopping dessert that requires minimal effort and delivers maximum flavor, then trust me, you absolutely have to try this. The creamy fudge base, studded with the crunchy, peanut-buttery goodness of Butterfinger candy, creates a textural and flavor contrast that’s simply irresistible. It’s the perfect balance of sweet and salty, smooth and crunchy, making it a guaranteed crowd-pleaser for any occasion.
But the best part? It’s incredibly versatile! While the classic recipe is a winner on its own, feel free to get creative and experiment with different variations. For a richer, more intense chocolate flavor, try using dark chocolate instead of semi-sweet. Or, if you’re a fan of white chocolate, that would be a delicious alternative too! Consider adding a swirl of peanut butter on top before the fudge sets for an extra layer of peanut butter indulgence. For a festive touch, sprinkle some crushed Butterfinger pieces and a drizzle of melted chocolate over the finished fudge.
Serving suggestions are endless! This Butterfinger Fudge is perfect as a standalone dessert, a sweet addition to a holiday dessert platter, or even as a thoughtful homemade gift. Cut it into small squares for a bite-sized treat, or larger pieces for a more substantial indulgence. Serve it with a scoop of vanilla ice cream for a truly decadent experience, or pair it with a cup of hot coffee or tea for a cozy and comforting treat. You could even crumble it over brownies or cookies for an extra layer of flavor and texture.
Don’t be intimidated by the thought of making fudge. This recipe is designed to be foolproof, even for beginner bakers. The key is to follow the instructions carefully and use a candy thermometer to ensure the fudge reaches the correct temperature. But even if you don’t have a candy thermometer, don’t worry! There are alternative methods you can use to test for doneness, such as the cold water test.
I’m confident that once you try this recipe, it will become a staple in your dessert repertoire. It’s the perfect treat to satisfy your sweet cravings, impress your friends and family, and create lasting memories. So, what are you waiting for? Gather your ingredients, put on your apron, and get ready to experience the magic of homemade Butterfinger Fudge.
I’m so excited for you to try this recipe! Once you’ve made it, I’d love to hear about your experience. Did you make any variations? What did your friends and family think? Share your photos and comments in the comments section below. I can’t wait to see your creations and hear your feedback! Happy baking!
Butterfinger Fudge: The Ultimate Recipe for Peanut Butter Chocolate Lovers
Easy, decadent Butterfinger Fudge! Rich chocolate fudge loaded with chopped Butterfinger candy bars for a perfect blend of smooth chocolate and crunchy peanut butter flavor.
Ingredients
Instructions
Recipe Notes
- Chocolate Variations: Experiment with milk chocolate, dark chocolate, or white chocolate chips for different flavor profiles.
- Candy Additions: Add other candies like Reese’s Pieces, M&Ms, or chopped Snickers bars.
- Nutty Twist: Incorporate chopped peanuts, walnuts, or pecans.
- Layered Fudge: Create a layered effect by pouring half the chocolate mixture, adding a peanut butter layer, and topping with the remaining chocolate.
- Microwave Method: Melt ingredients in the microwave in 30-second intervals, stirring in between, until smooth.
- Richer Flavor: Use high-quality chocolate chips and frosting.
- Prevent Sticking: Grease your knife with cooking spray before cutting.
- Fudge is too soft: Refrigerate longer or reduce milk next time.
- Fudge is too hard: Melt chocolate over low heat and stir constantly.
- Fudge is grainy: Melt chocolate over low heat and stir constantly until smooth.