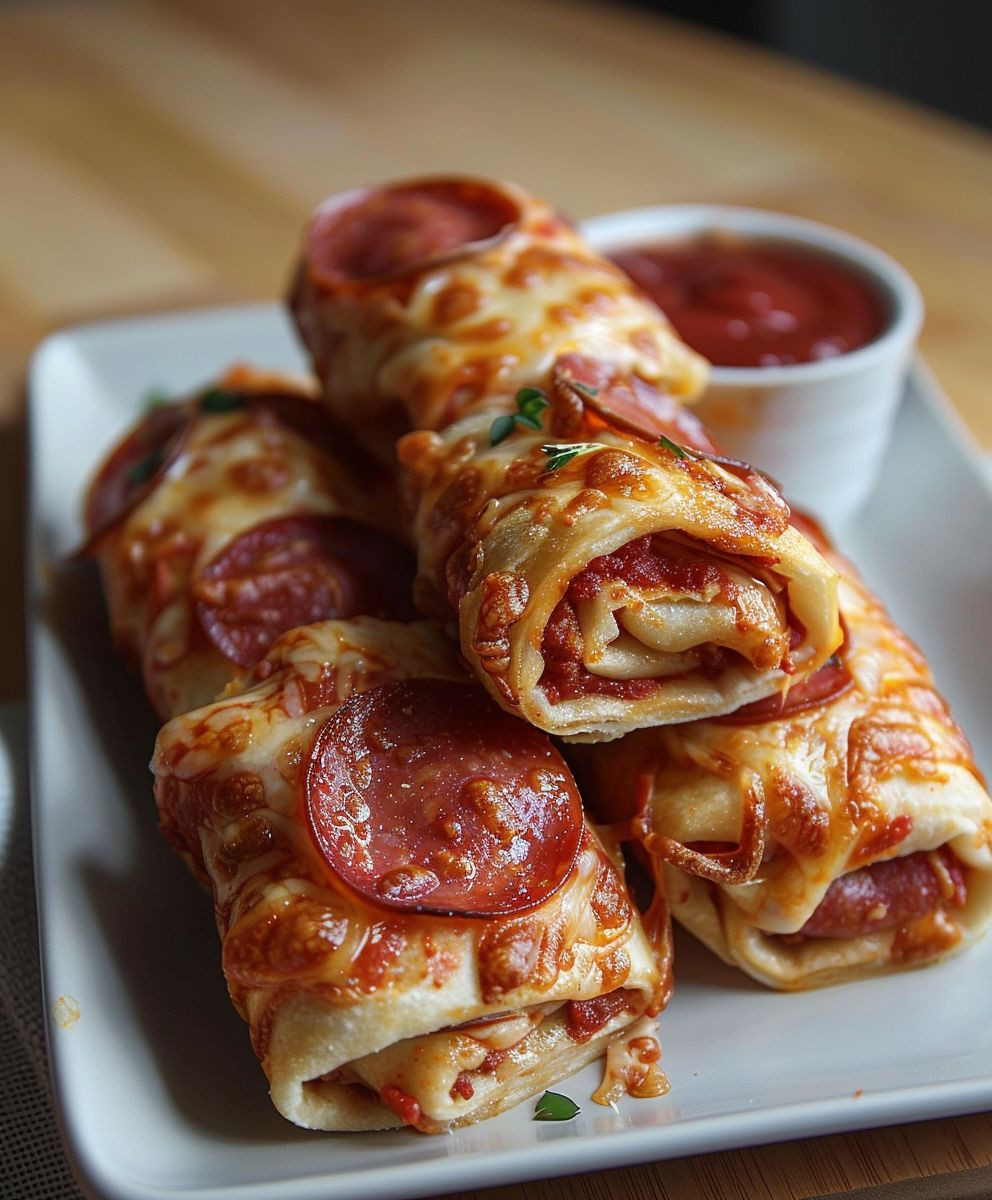
Cheesy Pepperoni Pizza Roll Ups: Get ready to ditch the delivery menu because I’m about to share a recipe that’s not only incredibly delicious but also surprisingly easy to make! Imagine biting into a warm, golden-brown roll, bursting with melted cheese, savory pepperoni, and that unmistakable pizza flavor we all crave. These aren’t your average snacks; they’re a mini pizza party in every bite!
Pizza, in its various forms, has a rich history, tracing back to ancient flatbreads enjoyed in Mediterranean cultures. The modern pizza we know and love truly took off in Naples, Italy, and has since become a global phenomenon, adapted and embraced by countless cultures. These Cheesy Pepperoni Pizza Roll Ups are my fun, handheld twist on this classic comfort food.
What makes these roll ups so irresistible? It’s the perfect combination of textures – the soft, pillowy dough, the gooey, melted cheese, and the slightly crispy pepperoni. Plus, they’re incredibly convenient! Whether you’re looking for a quick and easy weeknight dinner, a crowd-pleasing appetizer for your next gathering, or a fun snack for the kids, these roll ups are always a hit. The simple ingredients and straightforward instructions mean you can whip up a batch in no time, satisfying those pizza cravings without the hassle of ordering out. Trust me, once you try these, you’ll be hooked!

Ingredients:
- 1 package (13.8 ounces) refrigerated pizza dough
- 1/2 cup pizza sauce, plus more for dipping
- 2 cups shredded mozzarella cheese, divided
- 1/2 cup pepperoni slices, quartered
- 2 tablespoons grated Parmesan cheese
- 1 tablespoon olive oil
- 1 teaspoon garlic powder
- 1/2 teaspoon dried oregano
- 1/4 teaspoon red pepper flakes (optional)
- 1 egg, beaten (for egg wash)
Preparing the Dough and Filling:
- First things first, let’s get that pizza dough ready! Unroll the refrigerated pizza dough onto a lightly floured surface. If it’s sticking, sprinkle a little more flour underneath. I like to use a large cutting board for this.
- Now, gently stretch the dough into a large rectangle, about 12×16 inches. Don’t worry if it’s not perfectly rectangular; we’re going for rustic charm here! If the dough is resisting stretching, let it rest for a few minutes. This allows the gluten to relax, making it easier to work with.
- Next, spread the pizza sauce evenly over the dough, leaving a small border (about 1/2 inch) around the edges. This will help seal the roll-ups later. I find that using the back of a spoon works best for spreading the sauce smoothly.
- Sprinkle 1 1/2 cups of the mozzarella cheese evenly over the sauce. We’re going for cheesy goodness in every bite! Make sure to distribute the cheese all the way to the edges, but avoid piling it up too much in one spot.
- Now, scatter the quartered pepperoni slices over the cheese. The more pepperoni, the merrier, right? I like to make sure each roll-up will have a good amount of pepperoni.
- Sprinkle the grated Parmesan cheese over the pepperoni. This adds a nice salty and nutty flavor that complements the mozzarella and pepperoni perfectly.
- If you’re feeling a little adventurous, sprinkle the red pepper flakes over the filling. This adds a touch of heat that really elevates the flavor. But if you’re not a fan of spice, feel free to skip this step.
Rolling and Cutting the Roll-Ups:
- Okay, time to roll! Starting from one of the long edges, tightly roll the dough into a log. Try to keep the roll as tight as possible to prevent the filling from spilling out during baking.
- Once you’ve rolled the dough into a log, pinch the seam to seal it. This will help keep the roll-ups intact.
- Using a sharp knife or pizza cutter, slice the log into 1-inch thick slices. You should get about 12-16 roll-ups, depending on the size of your dough.
- As you slice, you might notice some of the filling trying to escape. Don’t worry, just gently tuck it back in.
Preparing for Baking:
- Preheat your oven to 375°F (190°C). Make sure your oven is fully preheated before you put the roll-ups in.
- Lightly grease a baking sheet with olive oil or cooking spray. This will prevent the roll-ups from sticking to the pan.
- Arrange the roll-ups on the prepared baking sheet, cut-side up. Leave a little space between each roll-up to allow for even baking.
- In a small bowl, whisk together the remaining 1/2 cup of mozzarella cheese, olive oil, garlic powder, and dried oregano. This mixture will be sprinkled on top of the roll-ups for extra flavor and cheesiness.
- Spoon the cheese mixture evenly over the roll-ups. Make sure each roll-up gets a generous topping of cheese.
- Brush the tops of the roll-ups with the beaten egg. This will give them a beautiful golden-brown color and a slightly glossy finish.
Baking and Serving:
- Bake the roll-ups in the preheated oven for 20-25 minutes, or until they are golden brown and the cheese is melted and bubbly. Keep an eye on them, as baking times may vary depending on your oven.
- Once the roll-ups are done, remove them from the oven and let them cool for a few minutes before serving. This will prevent you from burning your mouth on the hot cheese.
- Serve the cheesy pepperoni pizza roll-ups warm with extra pizza sauce for dipping. They’re perfect as an appetizer, snack, or even a light meal.
- I like to sprinkle a little extra Parmesan cheese and dried oregano on top before serving for an extra touch of flavor and presentation.
Tips and Variations:
- Spice it up: Add a pinch of red pepper flakes to the cheese mixture for a little extra heat.
- Add veggies: Mix in some chopped bell peppers, onions, or mushrooms with the pepperoni for a more nutritious and flavorful filling.
- Use different cheeses: Experiment with different types of cheese, such as provolone, cheddar, or Monterey Jack.
- Make it vegetarian: Skip the pepperoni and add your favorite vegetarian toppings, such as olives, artichoke hearts, or sun-dried tomatoes.
- Use different sauces: Try using pesto, marinara sauce, or even a creamy Alfredo sauce instead of pizza sauce.
- Make it ahead: You can assemble the roll-ups ahead of time and store them in the refrigerator until you’re ready to bake them. Just add a few extra minutes to the baking time.
- Freezing: These roll-ups freeze well! Bake them as directed, let them cool completely, and then wrap them individually in plastic wrap. Store them in a freezer bag for up to 2 months. To reheat, bake them in a preheated oven at 350°F (175°C) for 15-20 minutes, or until heated through.
Enjoy your delicious homemade Cheesy Pepperoni Pizza Roll-Ups! I hope you love them as much as I do. They’re always a crowd-pleaser!
Conclusion:
Okay, friends, let’s be honest – you’ve scrolled this far because you’re intrigued, and rightfully so! These Cheesy Pepperoni Pizza Roll Ups are more than just a snack; they’re a guaranteed crowd-pleaser, a weeknight dinner savior, and a downright delicious way to satisfy your pizza cravings without the fuss of ordering takeout. I truly believe this recipe is a must-try for anyone who loves pizza, enjoys easy cooking, and appreciates a little bit of cheesy, pepperoni-filled joy in their life.
What makes these roll-ups so special? It’s the perfect combination of flaky, golden-brown crust, gooey melted cheese, and the satisfying kick of pepperoni. Plus, the entire process is incredibly simple and quick, making it ideal for busy weeknights or impromptu gatherings. Forget spending hours kneading dough and meticulously arranging toppings; with this recipe, you can have a batch of warm, cheesy goodness ready in under 30 minutes. And trust me, the smiles on the faces of those who devour them will be worth every second!
Serving Suggestions and Variations:
The beauty of these Cheesy Pepperoni Pizza Roll Ups is their versatility. While they’re fantastic on their own, a few simple additions can elevate them to a whole new level. Consider serving them with a side of warm marinara sauce for dipping – it adds a tangy counterpoint to the richness of the cheese and pepperoni. For a spicier kick, sprinkle a pinch of red pepper flakes into the filling or add a drizzle of hot sauce after baking.
Looking for variations? The possibilities are endless! Swap out the pepperoni for cooked sausage, ham, or even crumbled bacon. Add some finely chopped vegetables like bell peppers, onions, or mushrooms for a healthier twist. For a vegetarian option, replace the pepperoni with sun-dried tomatoes, spinach, and artichoke hearts. You can even experiment with different types of cheese – mozzarella, provolone, cheddar, or a blend of your favorites. Get creative and tailor the recipe to your own taste preferences!
These roll-ups also make a fantastic appetizer for parties. Arrange them on a platter with a variety of dipping sauces, such as ranch dressing, garlic aioli, or pesto. They’re sure to be a hit with guests of all ages. And if you happen to have any leftovers (though I highly doubt it!), they reheat beautifully in the microwave or oven. They’re perfect for a quick lunch or snack the next day.
I’m confident that you’ll love these Cheesy Pepperoni Pizza Roll Ups as much as I do. They’re easy, delicious, and endlessly customizable. So, what are you waiting for? Gather your ingredients, preheat your oven, and get ready to experience pizza in a whole new way. I encourage you to try this recipe and discover your own favorite variations.
Share Your Experience!
Once you’ve made these Cheesy Pepperoni Pizza Roll Ups, I’d love to hear about your experience! Did you try any variations? What dipping sauces did you use? What did your family and friends think? Share your photos and comments below – I can’t wait to see your creations and hear your feedback. Happy cooking!
Cheesy Pepperoni Pizza Roll Ups: The Ultimate Recipe Guide
Fun and easy appetizer or snack made with pizza dough, sauce, mozzarella, and pepperoni. Perfect for parties or a quick weeknight treat!
Ingredients
Instructions
Recipe Notes
- Spice it up: Add a pinch of red pepper flakes to the cheese mixture for a little extra heat.
- Add veggies: Mix in some chopped bell peppers, onions, or mushrooms with the pepperoni for a more nutritious and flavorful filling.
- Use different cheeses: Experiment with different types of cheese, such as provolone, cheddar, or Monterey Jack.
- Make it vegetarian: Skip the pepperoni and add your favorite vegetarian toppings, such as olives, artichoke hearts, or sun-dried tomatoes.
- Use different sauces: Try using pesto, marinara sauce, or even a creamy Alfredo sauce instead of pizza sauce.
- Make it ahead: You can assemble the roll-ups ahead of time and store them in the refrigerator until you’re ready to bake them. Just add a few extra minutes to the baking time.
- Freezing: These roll-ups freeze well! Bake them as directed, let them cool completely, and then wrap them individually in plastic wrap. Store them in a freezer bag for up to 2 months. To reheat, bake them in a preheated oven at 350°F (175°C) for 15-20 minutes, or until heated through.