Chocolate chip cookies are a timeless classic that never fails to bring a smile to my face. The moment you pull a batch from the oven, the warm, gooey chocolate mingling with the sweet, buttery dough creates an aroma that is simply irresistible. Originating in the United States in the 1930s, these delightful treats were invented by Ruth Wakefield, who added chopped chocolate to her cookie recipe, forever changing the dessert landscape. People love chocolate chip cookies not just for their delicious taste and chewy texture, but also for the nostalgia they evoke—each bite transports you back to childhood memories of baking with family or sharing them with friends. Whether enjoyed fresh out of the oven or as a delightful snack, chocolate chip cookies are a beloved staple in many households, making them the perfect treat for any occasion.

Ingredients:
- 2 1/4 cups all-purpose flour
- 1/2 teaspoon baking soda
- 1 cup unsalted butter, at room temperature
- 1/2 cup granulated sugar
- 1 cup packed light-brown sugar
- 1 teaspoon salt
- 2 teaspoons pure vanilla extract
- 2 large eggs
- 2 cups semisweet and/or milk chocolate chips
- 1 cup chopped nuts (optional)
Preparing the Dough
1. **Preheat the Oven**: Start by preheating your oven to 350°F (175°C). This ensures that your cookies will bake evenly and come out perfectly golden brown. 2. **Mix Dry Ingredients**: In a medium bowl, whisk together the flour and baking soda. This step is crucial as it helps to evenly distribute the baking soda throughout the flour, ensuring that your cookies rise properly. Set this mixture aside for now. 3. **Cream the Butter and Sugars**: In a large mixing bowl, use an electric mixer to cream together the room temperature butter, granulated sugar, and light-brown sugar. Beat on medium speed until the mixture is light and fluffy, which usually takes about 2-3 minutes. This process incorporates air into the butter, making your cookies tender. 4. **Add Salt and Vanilla**: Once the butter and sugars are well combined, add the salt and vanilla extract. Mix until everything is well incorporated. 5. **Incorporate Eggs**: Add the eggs, one at a time, mixing well after each addition. This helps to emulsify the mixture, ensuring that the eggs are fully integrated into the dough. 6. **Combine Wet and Dry Ingredients**: Gradually add the flour mixture to the wet ingredients. I like to do this in three parts, mixing on low speed until just combined after each addition. Be careful not to overmix, as this can lead to tough cookies. 7. **Fold in Chocolate Chips and Nuts**: Using a spatula or wooden spoon, gently fold in the chocolate chips and chopped nuts (if using). Make sure they are evenly distributed throughout the dough.Chilling the Dough (Optional but Recommended)
8. **Chill the Dough**: For the best flavor and texture, I recommend chilling the dough for at least 30 minutes in the refrigerator. This step allows the flavors to meld and helps prevent the cookies from spreading too much while baking.Preparing to Bake
9. **Prepare Baking Sheets**: While the dough is chilling, line your baking sheets with parchment paper. This prevents the cookies from sticking and makes for easy cleanup. 10. **Scoop the Dough**: Once the dough is chilled, use a cookie scoop or tablespoon to portion out the dough onto the prepared baking sheets. Leave about 2 inches of space between each cookie, as they will spread while baking. 11. **Optional Topping**: If you want to make your cookies look extra special, you can press a few extra chocolate chips on top of each cookie before baking. This gives them a beautiful, bakery-style appearance.Baking the Cookies
12. **Bake the Cookies**: Place the baking sheets in the preheated oven and bake for 10-12 minutes, or until the edges are golden brown and the centers are still slightly soft. Keep an eye on them, as baking times can vary depending on your oven. 13. **Cool on Baking Sheets**: Once baked, remove the cookies from the oven and let them cool on the baking sheets for about 5 minutes. This allows them to set before transferring them to a wire rack. 14. **Transfer to Wire Rack**: After 5 minutes, use a spatula to transfer the cookies to a wire rack to cool completely. This step is important as it prevents the bottoms from becoming soggy.Storing the Cookies
15. **Store the Cookies**: Once the cookies are completely cool, you can store them in an airtight container at room temperature for up to a week. If you want to keep them fresh for longer, you can freeze them. Just make sure to layer them with parchment paper to prevent sticking. 16. **Reheating (if desired)**: If you prefer your cookies warm, you can reheat them in the microwave for about 10-15 seconds or in a preheated oven at 350°F (175°C) for a few minutes.Enjoying Your Cookies
17. **Serve and Enjoy**: Now that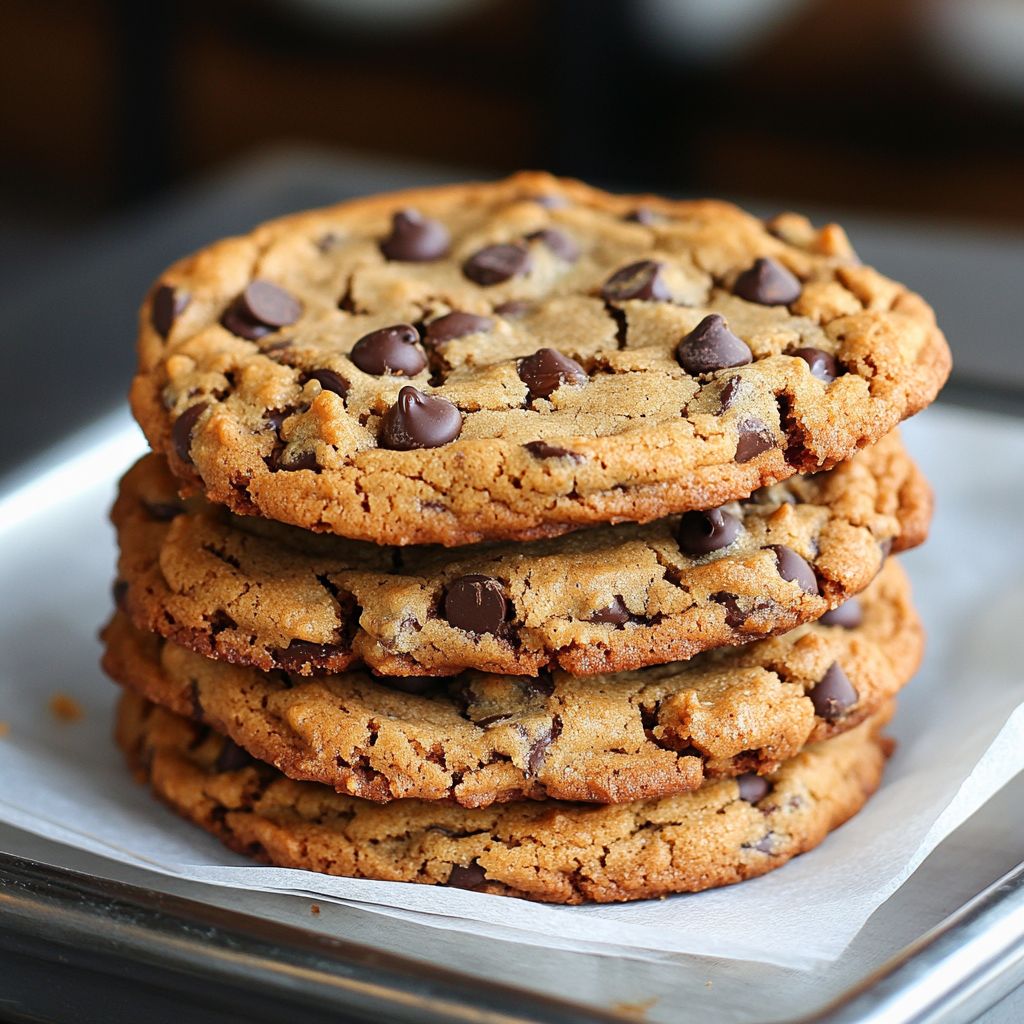
Conclusion:
In summary, this chocolate chip cookie recipe is an absolute must-try for anyone who loves the classic combination of buttery dough and gooey chocolate. The balance of flavors and textures in these cookies is simply irresistible, making them perfect for any occasion—whether you’re hosting a gathering, celebrating a special moment, or just indulging in a sweet treat after a long day. For serving suggestions, I recommend pairing these cookies with a tall glass of cold milk or a scoop of vanilla ice cream for an extra decadent dessert experience. If you’re feeling adventurous, you can also experiment with variations by adding nuts, dried fruits, or even a sprinkle of sea salt on top for a gourmet touch. I truly encourage you to give this chocolate chip cookie recipe a try. I promise you won’t be disappointed! Once you’ve baked a batch (or two), I would love to hear about your experience. Share your thoughts, any tweaks you made, or even a photo of your delicious creations. Let’s spread the joy of baking together! Print
Chocolate Chip Cookies: The Ultimate Recipe for Soft and Chewy Perfection
- Total Time: 60 minutes
- Yield: 24 cookies 1x
Description
Indulge in these classic chocolate chip cookies, perfectly chewy and loaded with rich chocolate chips. With a hint of vanilla and optional nuts, they make a delightful treat for any occasion, best enjoyed warm with a glass of milk.
Ingredients
- 2 1/4 cups all-purpose flour
- 1/2 teaspoon baking soda
- 1 cup unsalted butter, at room temperature
- 1/2 cup granulated sugar
- 1 cup packed light-brown sugar
- 1 teaspoon salt
- 2 teaspoons pure vanilla extract
- 2 large eggs
- 2 cups semisweet and/or milk chocolate chips
- 1 cup chopped nuts (optional)
Instructions
- Preheat your oven to 350°F (175°C).
- In a medium bowl, whisk together the flour and baking soda. Set aside.
- In a large mixing bowl, cream together the butter, granulated sugar, and light-brown sugar until light and fluffy (about 2-3 minutes).
- Mix in the salt and vanilla extract until well combined.
- Add the eggs one at a time, mixing well after each addition.
- Gradually add the flour mixture to the wet ingredients in three parts, mixing on low speed until just combined.
- Gently fold in the chocolate chips and chopped nuts (if using).
- Chill the dough for at least 30 minutes in the refrigerator.
- Line baking sheets with parchment paper.
- Portion out the dough onto the prepared baking sheets, leaving about 2 inches of space between each cookie.
- Press a few extra chocolate chips on top of each cookie if desired.
- Bake for 10-12 minutes, or until the edges are golden brown and the centers are slightly soft.
- Let the cookies cool on the baking sheets for about 5 minutes.
- Move the cookies to a wire rack to cool completely.
- Store in an airtight container at room temperature for up to a week or freeze for longer storage.
- Reheat in the microwave for 10-15 seconds or in a preheated oven at 350°F (175°C) for a few minutes.
- Serve warm and enjoy your delicious cookies!
Notes
- Chilling the dough enhances flavor and texture.
- Feel free to customize with different types of chocolate chips or nuts.
- For a chewier cookie, slightly underbake them.
- Prep Time: 20 minutes
- Cook Time: 10-12 minutes