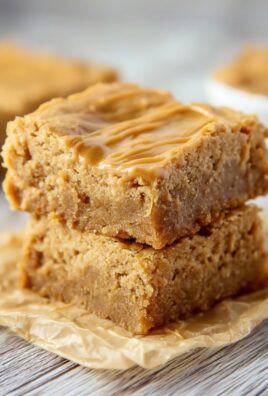
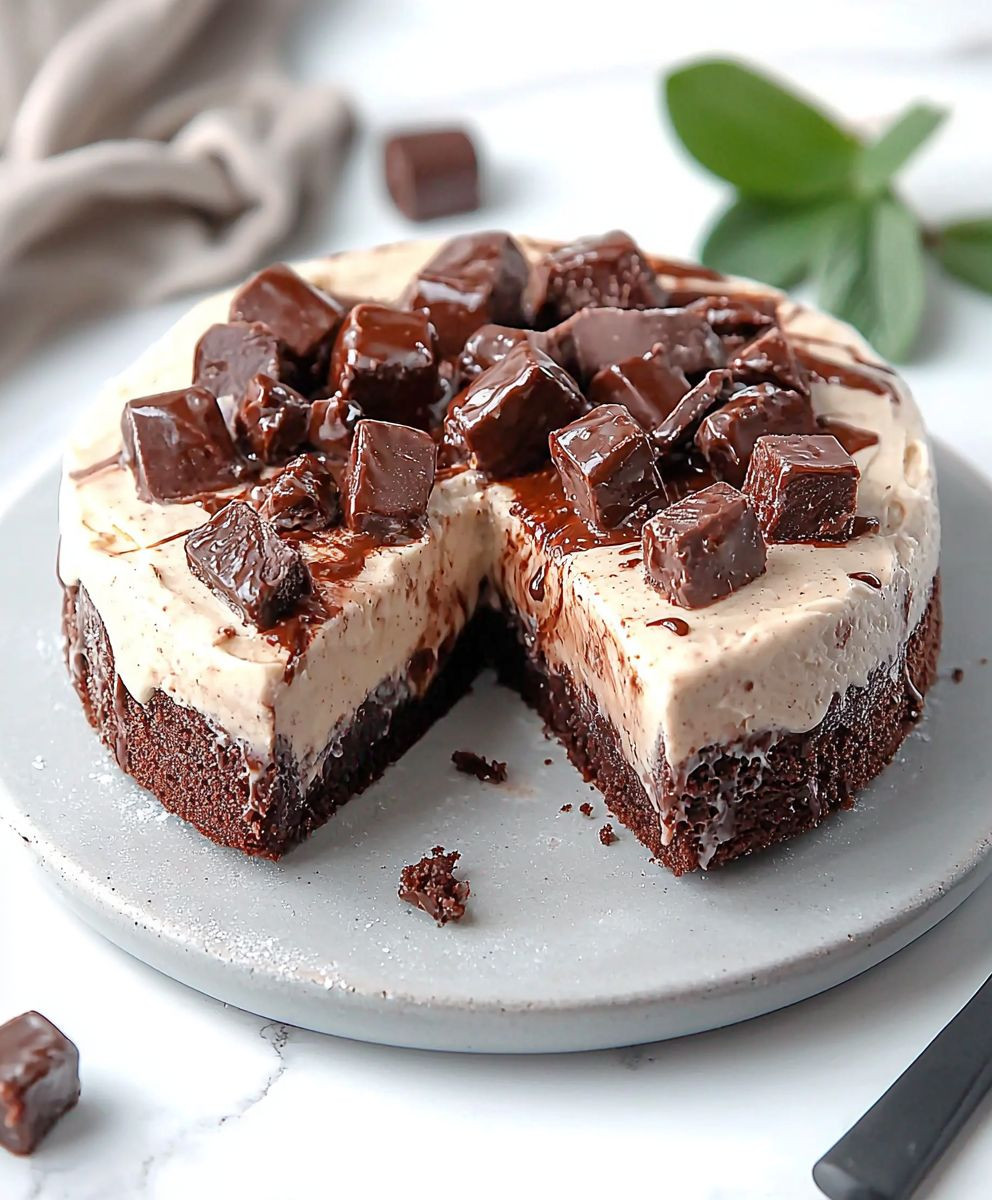
Frozen Brownie Ice Cream Cake is a delightful dessert that combines two of the most beloved treats into one indulgent masterpiece. Imagine rich, fudgy brownies layered with creamy ice cream, all frozen to perfection. This dessert not only satisfies your sweet tooth but also brings a sense of nostalgia, reminding many of childhood birthday parties and summer celebrations. The combination of textures—the dense brownie base and the smooth, cold ice cream—creates a heavenly experience that keeps everyone coming back for more.
People love this Frozen Brownie Ice Cream Cake not just for its incredible taste, but also for its convenience. It can be prepared ahead of time, making it the perfect showstopper for gatherings or a simple family treat. With just a few ingredients, you can create a dessert that looks as impressive as it tastes. So, let’s dive into this recipe and discover how to make your very own Frozen Brownie Ice Cream Cake that will surely impress your friends and family!

Ingredients:
- 1 box of brownie mix (plus ingredients required on the box, usually eggs, oil, and water)
- 1 quart of your favorite ice cream (I love chocolate or vanilla for this recipe)
- 1 cup of whipped cream (store-bought or homemade)
- 1/2 cup of chocolate syrup (for drizzling)
- 1/2 cup of crushed nuts (optional, I like walnuts or pecans)
- 1/2 cup of mini chocolate chips (for extra chocolatey goodness)
- 1 teaspoon of vanilla extract (if you’re making homemade whipped cream)
Preparing the Brownie Base
- Preheat your oven to 350°F (175°C). This is the perfect temperature for baking those fudgy brownies.
- In a large mixing bowl, prepare the brownie mix according to the package instructions. This usually involves adding eggs, oil, and water. Make sure to mix it well until there are no lumps.
- Grease a 9-inch round cake pan with cooking spray or butter. This will help the brownies come out easily once they’re baked.
- Pour the brownie batter into the prepared cake pan, spreading it evenly with a spatula.
- Bake in the preheated oven for about 20-25 minutes, or until a toothpick inserted in the center comes out with a few moist crumbs. You want them to be fudgy, not dry!
- Once baked, remove the brownies from the oven and let them cool in the pan for about 10 minutes. Then, carefully transfer them to a wire rack to cool completely.
Preparing the Ice Cream Layer
- While the brownies are cooling, take your ice cream out of the freezer and let it soften for about 10-15 minutes. This will make it easier to spread.
- Once softened, scoop the ice cream into a large mixing bowl. If you’re using two flavors, you can mix them together or keep them separate for a fun layered effect.
- If you want to add any mix-ins like mini chocolate chips or crushed nuts, fold them into the ice cream now. This adds a delightful crunch and extra flavor!
- Once the brownies are completely cooled, it’s time to assemble the cake. If the brownies have domed up in the center, you can trim the top with a serrated knife to make it level.
Assembling the Cake
- Place the cooled brownie layer back into the cake pan. This will be the base of your ice cream cake.
- Spread the softened ice cream evenly over the brownie layer. Use a spatula to smooth it out, making sure it reaches the edges of the pan.
- Once the ice cream is spread out evenly, cover the cake pan with plastic wrap or aluminum foil. This will help prevent freezer burn.
- Place the cake in the freezer for at least 4 hours, or until the ice cream is firm. If you’re in a hurry, you can freeze it for a shorter time, but the longer it freezes, the easier it will be to slice later.
Preparing the Whipped Cream Topping
- If you’re making homemade whipped cream, start by chilling a mixing bowl and beaters in the freezer for about 10 minutes. This helps the cream whip up better.
- Pour 1 cup of heavy whipping cream into the chilled bowl. Add 1 teaspoon of vanilla extract and, if you like, a tablespoon of powdered sugar for sweetness.
- Using an electric mixer, beat the cream on medium-high speed until soft peaks form. Be careful not to over-whip, or you’ll end up with butter!
- Once the whipped cream is ready, you can either spread it over the top of the ice cream layer or pipe it on for a decorative touch.
Final Touches and Serving
- After the ice cream has set for at least 4 hours, remove the cake from the freezer. Carefully take off the plastic wrap or foil.
- Spread or pipe the whipped cream over the top of the ice cream layer
Conclusion:
In summary, this Frozen Brownie Ice Cream Cake is an absolute must-try for anyone looking to impress friends and family with a delightful dessert that combines the rich, fudgy goodness of brownies with the creamy, dreamy texture of ice cream. The layers of chocolatey brownie and your favorite ice cream create a heavenly treat that is perfect for any occasion, whether it’s a birthday celebration, a summer barbecue, or simply a cozy night in. For serving suggestions, consider topping your cake with a drizzle of chocolate or caramel sauce, a sprinkle of crushed nuts, or even a dollop of whipped cream for an extra touch of indulgence. You can also experiment with different ice cream flavors—think mint chocolate chip, cookies and cream, or even a fruity sorbet for a refreshing twist. The possibilities are endless, and that’s what makes this recipe so versatile! I wholeheartedly encourage you to give this Frozen Brownie Ice Cream Cake a try. I promise you won’t regret it! Once you’ve made it, I’d love to hear about your experience. Did you stick to the classic chocolate flavor, or did you venture out with something unique? Share your thoughts and any variations you tried in the comments below. Let’s spread the joy of this delicious dessert together! Print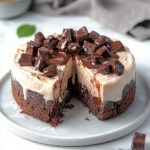
Frozen Brownie Ice Cream Cake: A Decadent Dessert Recipe You’ll Love
- Total Time: 295 minutes
- Yield: 8–10 servings 1x
Description
Enjoy a decadent Brownie Ice Cream Cake with a rich brownie base, creamy ice cream, and fluffy whipped cream. This layered dessert is perfect for celebrations or a sweet indulgence, guaranteed to impress everyone!
Ingredients
- 1 box of brownie mix (plus ingredients required on the box, usually eggs, oil, and water)
- 1 quart of your favorite ice cream (chocolate or vanilla recommended)
- 1 cup of whipped cream (store-bought or homemade)
- 1/2 cup of chocolate syrup (for drizzling)
- 1/2 cup of crushed nuts (optional, walnuts or pecans work well)
- 1/2 cup of mini chocolate chips (for extra chocolatey goodness)
- 1 teaspoon of vanilla extract (if making homemade whipped cream)
Instructions
### Brownie Ice Cream Cake Recipe
**Description:**
Indulge in this delightful Brownie Ice Cream Cake, featuring a fudgy brownie base topped with creamy ice cream and fluffy whipped cream. Perfect for any celebration or a sweet treat, this layered dessert is sure to impress!
—
### Ingredients:
– **Brownie Base:**
– 1 box of brownie mix (plus ingredients required on the box, usually eggs, oil, and water)
– **Ice Cream Layer:**
– 1 quart of your favorite ice cream (chocolate or vanilla recommended)
– 1/2 cup of mini chocolate chips (optional)
– 1/2 cup of crushed nuts (optional, walnuts or pecans work well)
– **Whipped Cream Topping:**
– 1 cup of heavy whipping cream (store-bought or homemade)
– 1 teaspoon of vanilla extract (if making homemade whipped cream)
– Optional: powdered sugar to taste
– **Garnishes:**
– 1/2 cup of chocolate syrup (for drizzling)
—
### Instructions:
#### Preparing the Brownie Base:
1. **Preheat Oven:** Preheat your oven to 350°F (175°C).
2. **Mix Brownies:** In a large mixing bowl, prepare the brownie mix according to the package instructions (usually adding eggs, oil, and water). Mix until smooth.
3. **Prepare Pan:** Grease a 9-inch round cake pan with cooking spray or butter.
4. **Bake Brownies:** Pour the brownie batter into the prepared cake pan, spreading it evenly. Bake for 20-25 minutes, or until a toothpick inserted in the center comes out with a few moist crumbs.
5. **Cool Brownies:** Let the brownies cool in the pan for 10 minutes, then transfer to a wire rack to cool completely.
#### Preparing the Ice Cream Layer:
1. **Soften Ice Cream:** While the brownies cool, soften the ice cream for 10-15 minutes at room temperature.
2. **Mix Ice Cream:** Scoop the softened ice cream into a large mixing bowl. Mix flavors if desired and fold in any optional mix-ins like mini chocolate chips or crushed nuts.
3. **Level Brownies:** If the brownie top is domed, trim it to create a level surface.
#### Assembling the Cake:
1. **Layer Brownies:** Place the cooled brownie layer back into the cake pan.
2. **Add Ice Cream:** Spread the softened ice cream evenly over the brownie layer.
3. **Freeze:** Cover the cake pan with plastic wrap or aluminum foil and freeze for at least 4 hours, or until the ice cream is firm.
#### Preparing the Whipped Cream Topping:
1. **Chill Equipment:** Chill a mixing bowl and beaters in the freezer for 10 minutes.
2. **Whip Cream:** Pour 1 cup of heavy whipping cream into the chilled bowl. Add 1 teaspoon of vanilla extract and optional powdered sugar. Beat the cream on medium-high speed until soft peaks form, being careful not to over-whip.
3. **Top Cake:** Spread or pipe the whipped cream over the ice cream layer.
#### Final Touches and Serving:
1. **Remove from Freezer:** After the ice cream has set for at least 4 hours, remove the cake from the freezer and take off the plastic wrap or foil.
2. **Decorate:** Spread or pipe the whipped cream over the top of the ice cream layer. Drizzle with chocolate syrup and sprinkle with crushed nuts and mini chocolate chips if desired.
3. **Slice and Serve:** Slice and serve this delicious cake to your guests!
—
### Notes:
– For a more decadent treat, consider adding layers of fudge or caramel sauce between the brownie and ice cream layers.
– This cake can be made a day in advance and stored in the freezer until ready to serve.
—
**Prep Time:** 30 minutes
**Cook Time:** 25 minutes
**Total Time:** 4 hours 55 minutes (including freezing time)
**Yield:** 8-10 servings
Notes
- For a more decadent treat, consider adding layers of fudge or caramel sauce between the brownie and ice cream layers.
- This cake can be made a day in advance and stored in the freezer until ready to serve.
- Prep Time: 30 minutes
- Cook Time: 25 minutes