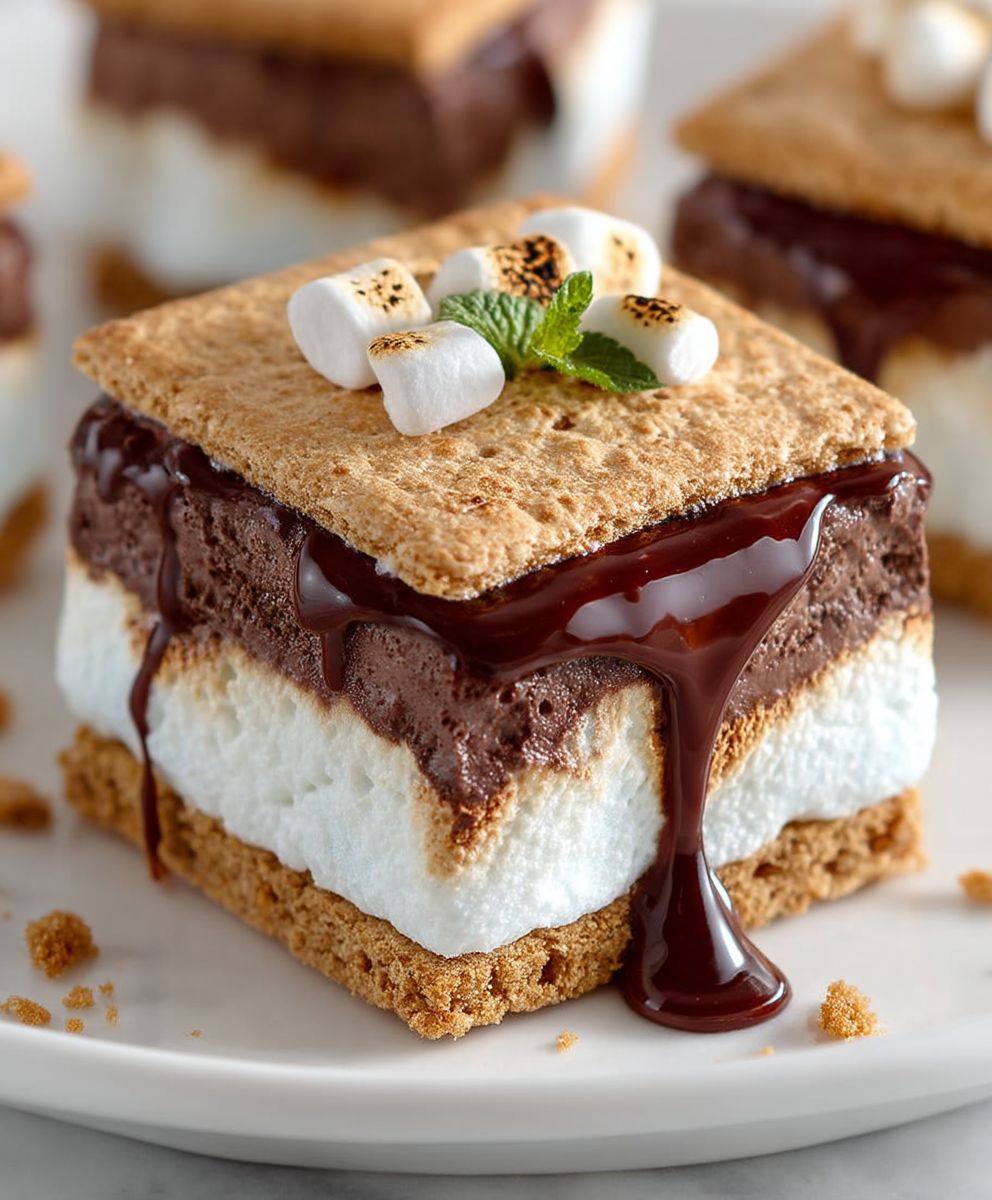
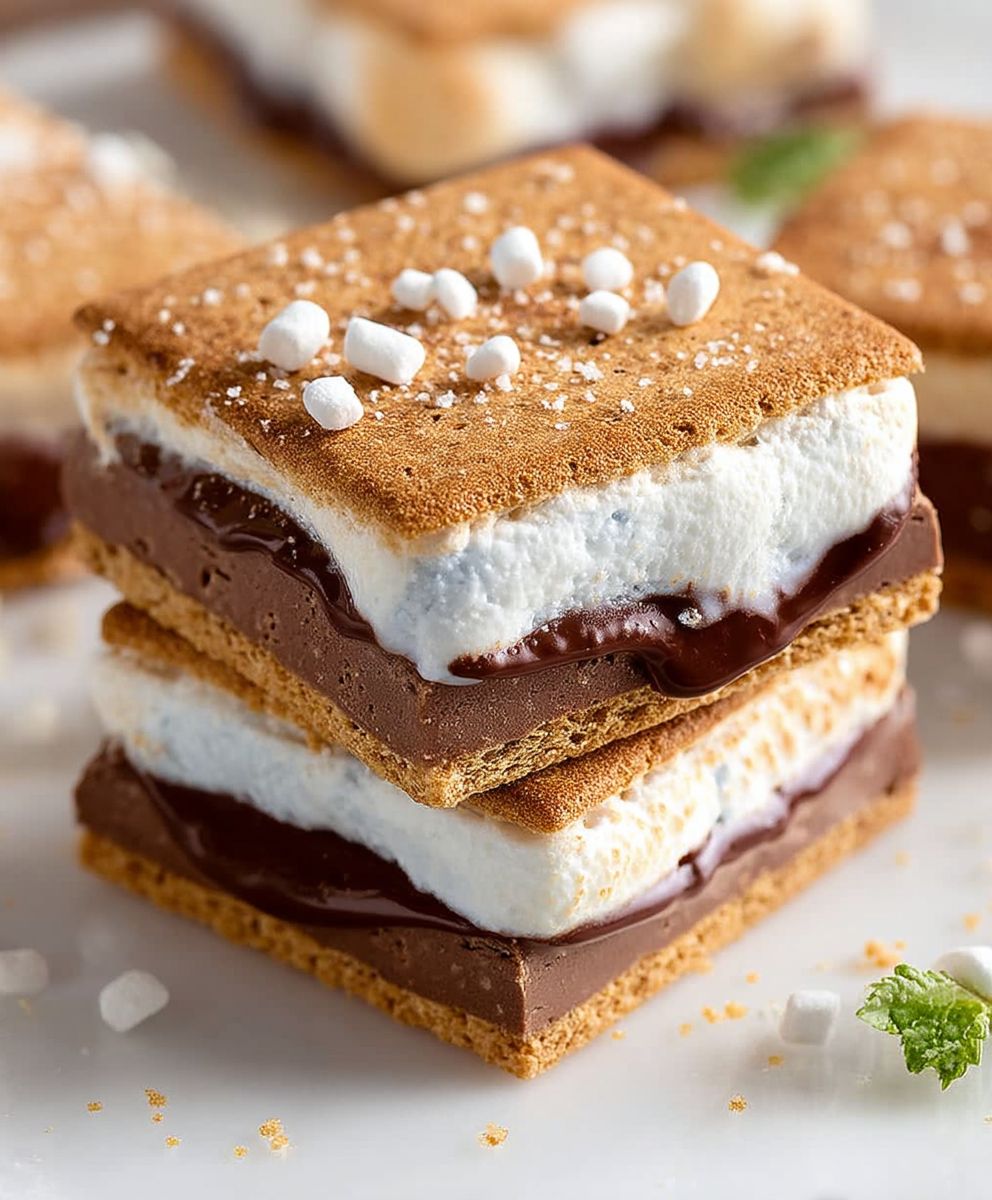
Frozen Smores: the quintessential campfire treat, reimagined for the modern kitchen! Imagine sinking your teeth into a cool, creamy, and utterly decadent dessert that captures all the magic of a summer night, without ever having to light a fire. This isn’t just a recipe; it’s a portal to simpler times, a nostalgic nod to crackling flames and gooey marshmallows, all wrapped up in a no-bake package.
S’mores, as many know, have a rich history rooted in American Girl Scout culture, with the first documented recipe appearing in a 1927 Girl Scout handbook. The name itself, a contraction of “some more,” speaks volumes about their irresistible nature. But what if you could enjoy that same iconic flavor combination – the rich chocolate, the sweet marshmallow, the crunchy graham cracker – in a refreshing, chilled form? That’s where Frozen Smores come in!
People adore s’mores for their delightful combination of textures and tastes. The warm, melted marshmallow against the crisp graham cracker and smooth chocolate is a sensory symphony. Our frozen version captures that same magic, offering a cool and creamy alternative that’s perfect for hot summer days or any time you crave a little bit of campfire nostalgia. Plus, the no-bake aspect makes it incredibly convenient and easy to prepare, even for novice bakers. Get ready to experience a taste of summer, any time of year!
Ingredients:
- 1 (14.3 ounce) package chocolate sandwich cookies, such as Oreos
- 6 tablespoons unsalted butter, melted
- 1 (16 ounce) package large marshmallows
- 2 tablespoons milk
- 1 teaspoon vanilla extract
- 1/4 teaspoon salt
- 1 (12 ounce) package semi-sweet chocolate chips
- 1/4 cup heavy cream
- Optional: Graham cracker crumbs for garnish
Preparing the Cookie Base:
Okay, let’s get started with the foundation of our frozen smores – the cookie base! This is super easy and gives a delicious, chocolatey crunch to contrast with the gooey marshmallow and rich chocolate topping.
- Crush the Cookies: First, you’ll need to crush those chocolate sandwich cookies. You have a couple of options here. You can use a food processor for a really fine crumb, which is my preferred method. Just pulse the cookies until they’re finely ground. Alternatively, you can place the cookies in a large zip-top bag, seal it tightly, and use a rolling pin to crush them. This is a great stress reliever, by the way! Aim for a consistent crumb size, but don’t worry about a few larger pieces – they add texture.
- Combine with Melted Butter: Once your cookies are crushed, pour them into a medium-sized bowl. Add the melted butter. Make sure the butter is evenly distributed throughout the cookie crumbs. I like to use a fork to toss everything together, ensuring that all the crumbs are moistened. The mixture should resemble wet sand.
- Press into Pan: Now, grab an 8×8 inch baking pan. You can line it with parchment paper for easy removal later, but it’s not strictly necessary. Pour the cookie crumb mixture into the pan and use the bottom of a measuring cup or your fingers to firmly press it into an even layer. This is important because you want a solid base for the marshmallow filling. Make sure to get into the corners!
- Chill the Base: Place the pan in the freezer while you prepare the marshmallow filling. This will help the base firm up and prevent it from getting soggy. A minimum of 30 minutes is ideal, but even 15 minutes will make a difference.
Making the Marshmallow Filling:
Next up, the star of the show – the marshmallow filling! This is where the “smore” magic really happens. We’re going for a soft, gooey, and perfectly sweet marshmallow layer that will complement the chocolate base and topping.
- Melt the Marshmallows: In a large, microwave-safe bowl, combine the marshmallows, milk, vanilla extract, and salt. Microwave on high for 1 minute, then stir well. If the marshmallows aren’t completely melted, continue microwaving in 30-second intervals, stirring after each interval, until smooth. Be careful not to overheat the marshmallows, as they can become hard and rubbery.
- Stir Until Smooth: Once the marshmallows are melted, stir vigorously until the mixture is completely smooth and creamy. There should be no lumps or unmelted pieces of marshmallow. The mixture will be very sticky, so be prepared for a little arm workout!
- Pour Over Cookie Base: Remove the pan with the chilled cookie base from the freezer. Pour the melted marshmallow mixture evenly over the cookie base. Use a spatula to spread it out to the edges of the pan, ensuring that the entire base is covered.
- Chill Again: Return the pan to the freezer and chill for at least 2 hours, or until the marshmallow filling is firm to the touch. This is crucial for preventing the filling from melting when you add the chocolate topping. You can even leave it in the freezer overnight for best results.
Creating the Chocolate Ganache Topping:
Now for the final touch – the decadent chocolate ganache topping! This adds a rich, smooth layer of chocolate that perfectly complements the marshmallow filling and cookie base. It’s surprisingly easy to make, and the results are absolutely divine.
- Combine Chocolate and Cream: Place the semi-sweet chocolate chips in a medium-sized, microwave-safe bowl. In a separate small saucepan, heat the heavy cream over medium heat until it just begins to simmer. You don’t want it to boil, just get hot enough to melt the chocolate. Alternatively, you can heat the cream in the microwave in 30-second intervals until hot.
- Pour Hot Cream Over Chocolate: Pour the hot heavy cream over the chocolate chips. Let it sit for about a minute to allow the heat to melt the chocolate.
- Stir Until Smooth: Gently stir the chocolate and cream together until the chocolate is completely melted and the mixture is smooth and glossy. Start in the center and work your way outwards. If the chocolate doesn’t melt completely, you can microwave the mixture in 15-second intervals, stirring after each interval, until smooth.
- Pour Over Marshmallow Filling: Remove the pan with the chilled marshmallow filling from the freezer. Pour the chocolate ganache evenly over the marshmallow filling. Use a spatula to spread it out to the edges of the pan, ensuring that the entire marshmallow layer is covered.
- Optional Garnish: If desired, sprinkle the top of the chocolate ganache with graham cracker crumbs for an extra touch of “smore” flavor and visual appeal.
- Final Chill: Return the pan to the freezer and chill for at least 1 hour, or until the chocolate ganache is firm to the touch. This will allow the ganache to set properly and prevent it from being too runny when you cut the frozen smores.
Cutting and Serving:
Finally, the moment we’ve all been waiting for – cutting and serving our delicious frozen smores! This is the easiest part, but there are a few tips to ensure that you get clean, even slices.
- Let it Sit Briefly: Remove the pan from the freezer and let it sit at room temperature for about 5-10 minutes. This will soften the chocolate ganache slightly, making it easier to cut.
- Cut into Squares: Use a sharp knife to cut the frozen smores into squares. I usually cut them into 16 squares, but you can adjust the size to your preference. For clean cuts, run the knife under hot water and wipe it dry between each slice. This will help the knife glide through the frozen layers.
- Serve and Enjoy: Serve the frozen smores immediately and enjoy! They’re best eaten straight from the freezer, as they will soften quickly at room temperature. Store any leftovers in an airtight container in the freezer.
Tips and Variations:
Here are a few extra tips and variations to customize your frozen smores:
- Different Cookies: Feel free to experiment with different types of cookies for the base. Chocolate chip cookies, peanut butter cookies, or even graham crackers would all be delicious.
- Marshmallow Flavor: Use flavored marshmallows, such as chocolate or strawberry, for a fun twist.
- Chocolate Variations: Try using milk chocolate, dark chocolate, or even white chocolate for the ganache topping. You can also add a swirl of peanut butter or Nutella to the ganache for extra flavor.
- Add Nuts: Sprinkle chopped nuts, such as pecans or walnuts, over the chocolate ganache for added crunch and flavor.
- Salted Caramel: Drizzle salted caramel sauce over the marshmallow filling before adding the chocolate ganache for a sweet and salty treat.
Enjoy your homemade Frozen Smores!

Conclusion:
So, there you have it! My take on Frozen Smores, a dessert that’s guaranteed to be a hit with kids and adults alike. I truly believe this recipe is a must-try for so many reasons. First and foremost, it’s incredibly easy. We’re talking minimal effort for maximum flavor payoff. No complicated techniques, no fancy equipment, just simple steps that anyone can follow. Secondly, it’s a fantastic way to beat the heat. Forget baking in a hot oven; this dessert is all about embracing the chill. And finally, it captures the nostalgic essence of classic smores without the campfire hassle. Who doesn’t love that gooey marshmallow, rich chocolate, and crunchy graham cracker combination?
But the best part? This recipe is incredibly versatile! Feel free to get creative with your serving suggestions and variations. For a more elegant presentation, try layering the frozen smores in individual parfait glasses. You could alternate layers of the graham cracker mixture, chocolate ganache, and marshmallow fluff for a stunning dessert that’s perfect for a dinner party. Or, if you’re feeling adventurous, why not try dipping the finished frozen smores in melted chocolate and sprinkling them with chopped nuts or sprinkles? The possibilities are truly endless!
Speaking of variations, consider swapping out the milk chocolate for dark chocolate for a richer, more intense flavor. Or, if you’re a peanut butter lover, add a layer of peanut butter cups or a swirl of peanut butter to the marshmallow fluff. For a truly decadent treat, try using homemade graham crackers instead of store-bought ones. And if you’re looking for a healthier option, you can use whole wheat graham crackers and sugar-free chocolate.
Another fun idea is to create mini frozen smores bites using a mini muffin tin. Simply press the graham cracker mixture into the bottom of each muffin cup, top with a dollop of marshmallow fluff and a square of chocolate, and freeze until solid. These bite-sized treats are perfect for parties or as a quick and easy snack.
I’m so excited for you to try this recipe and experience the joy of Frozen Smores for yourself. It’s a guaranteed crowd-pleaser, and I know you’ll love it as much as I do. Don’t be afraid to experiment with different flavors and toppings to create your own unique version. The most important thing is to have fun and enjoy the process!
So, what are you waiting for? Head to the kitchen, gather your ingredients, and get ready to make some magic. Once you’ve tried it, I’d absolutely love to hear about your experience. Share your photos, your variations, and your thoughts in the comments below. Did you add any special ingredients? Did you try a different type of chocolate? What did your family and friends think? I can’t wait to see what you come up with!
Happy smores-making!
Frozen Smores: The Ultimate No-Bake Summer Dessert
No-bake frozen treat with a chocolate cookie base, gooey marshmallow filling, and rich chocolate ganache. A cool and refreshing dessert!
Ingredients
Instructions
Recipe Notes
- For clean cuts, run the knife under hot water and wipe it dry between each slice.
- Store leftovers in an airtight container in the freezer.
- Experiment with different types of cookies for the base.
- Use flavored marshmallows for a fun twist.
- Try different types of chocolate for the ganache topping.
- Add chopped nuts, peanut butter, or salted caramel for extra flavor.


