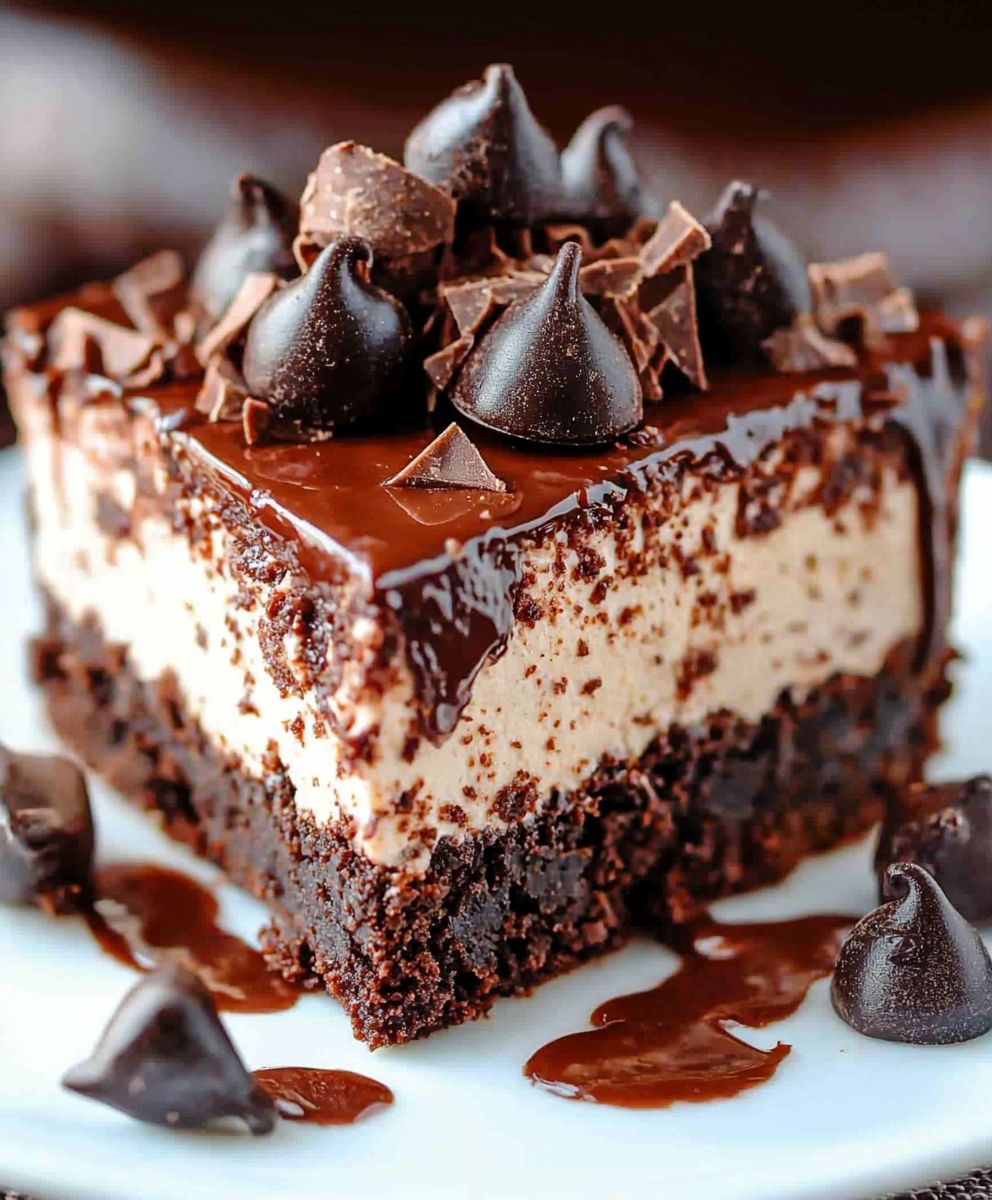
No-Bake Cheesecake Brownies are a delightful fusion of rich chocolate and creamy cheesecake that will leave your taste buds dancing with joy. As someone who has always had a sweet tooth, I can confidently say that this dessert is a game-changer. The combination of fudgy brownies topped with a luscious no-bake cheesecake layer creates a texture that is both indulgent and satisfying. This recipe has roots in classic American desserts, where the simplicity of no-bake treats has made them a favorite for gatherings and celebrations.
People love No-Bake Cheesecake Brownies not just for their incredible taste, but also for their convenience. With no oven required, you can whip up this decadent dessert in no time, making it perfect for last-minute parties or cozy nights in. The balance of flavors and textures in this dish is simply irresistible, and I can assure you that once you try it, you’ll be coming back for seconds—and maybe even thirds!

Ingredients:
- 1 cup of graham cracker crumbs
- 1/2 cup of unsweetened cocoa powder
- 1/2 cup of granulated sugar
- 1/2 cup of unsalted butter, melted
- 1/4 teaspoon of salt
- 1 (8 oz) package of cream cheese, softened
- 1/2 cup of powdered sugar
- 1 teaspoon of vanilla extract
- 1 cup of heavy whipping cream
- 1/2 cup of chocolate chips (optional, for topping)
Preparing the Brownie Base
- In a large mixing bowl, combine the graham cracker crumbs, unsweetened cocoa powder, granulated sugar, and salt. Stir these dry ingredients together until they are well mixed.
- Next, pour in the melted unsalted butter. Using a spatula or your hands, mix everything together until the mixture resembles wet sand. It should hold together when pressed.
- Line an 8×8 inch baking dish with parchment paper, leaving some overhang on the sides for easy removal later. This step is crucial for easy serving!
- Press the brownie mixture firmly into the bottom of the prepared baking dish. Make sure it’s evenly distributed and compacted. I like to use the bottom of a measuring cup to get it nice and flat.
- Once you’ve pressed the mixture down, place the baking dish in the refrigerator to chill while you prepare the cheesecake layer. This will help the brownie base set up nicely.
Making the Cheesecake Layer
- In a medium mixing bowl, beat the softened cream cheese with an electric mixer until it’s smooth and creamy. This usually takes about 2-3 minutes.
- Gradually add the powdered sugar and vanilla extract to the cream cheese, continuing to mix until everything is well combined and there are no lumps.
- In a separate bowl, whip the heavy cream until stiff peaks form. This is the key to a light and fluffy cheesecake layer! It usually takes about 3-5 minutes on high speed.
- Gently fold the whipped cream into the cream cheese mixture. Be careful not to deflate the whipped cream; you want to keep that airy texture. Use a spatula and fold in a circular motion until just combined.
Assembling the No-Bake Cheesecake Brownies
- Once the brownie base has chilled for about 30 minutes, remove it from the refrigerator. Spread the cheesecake mixture evenly over the brownie layer using a spatula. Make sure to cover the entire surface.
- If you’re using chocolate chips, sprinkle them on top of the cheesecake layer now. This adds a nice touch and extra chocolatey goodness!
- Cover the baking dish with plastic wrap or aluminum foil and return it to the refrigerator. Let it chill for at least 4 hours, or overnight if you can wait! This allows the flavors to meld and the cheesecake to set properly.
Serving the Brownies
- Once the brownies have set, it’s time to serve! Use the overhanging parchment paper to lift the brownies out of the baking dish.
- Place the brownies on a cutting board and use a sharp knife to cut them into squares. I recommend wiping the knife with a damp cloth between cuts for cleaner edges.
- Serve the brownies chilled, and enjoy the delightful combination of rich chocolate brownie and creamy cheesecake!
Storage Tips
- If you have any leftovers (which is rare!), store them in an airtight container in the refrigerator. They should stay fresh for up to 5 days.
- You can also freeze these brownies! Just wrap them tightly in plastic wrap and then in aluminum foil. They can be frozen for up to 2 months. Thaw them in the refrigerator before serving.
Variations and Add-Ins
- For a fruity twist, consider adding a layer of fruit preserves or fresh berries between the brownie and cheesecake layers. Raspberry or strawberry would be delicious!
- If you
Conclusion:
In summary, these No-Bake Cheesecake Brownies are an absolute must-try for anyone who loves a delightful combination of rich chocolate and creamy cheesecake. The best part? You don’t even need to turn on your oven! This recipe is perfect for those hot summer days when you want a sweet treat without the extra heat in the kitchen. I highly recommend serving these brownies chilled, perhaps topped with a drizzle of chocolate sauce or a sprinkle of fresh berries for an extra pop of flavor. If you’re feeling adventurous, you can even experiment with different flavors by adding a hint of lemon zest to the cheesecake layer or incorporating crushed cookies into the brownie base for added texture. I encourage you to give this recipe a try and share your experience with friends and family. I’d love to hear how your No-Bake Cheesecake Brownies turn out! Whether you’re making them for a special occasion or just a sweet treat for yourself, I promise you won’t be disappointed. So grab your ingredients, get mixing, and enjoy every delicious bite! Print
No-Bake Cheesecake Brownies: The Ultimate Dessert Recipe You Need to Try
- Total Time: 270 minutes
- Yield: 16 squares 1x
Description
Indulge in these No-Bake Cheesecake Brownies, featuring a rich chocolate brownie base topped with a creamy cheesecake layer. Easy to make and perfect for any occasion, these delightful treats require no baking and are sure to impress!
Ingredients
- 1 cup of graham cracker crumbs
- 1/2 cup of unsweetened cocoa powder
- 1/2 cup of granulated sugar
- 1/2 cup of unsalted butter, melted
- 1/4 teaspoon of salt
- 1 (8 oz) package of cream cheese, softened
- 1/2 cup of powdered sugar
- 1 teaspoon of vanilla extract
- 1 cup of heavy whipping cream
- 1/2 cup of chocolate chips (optional, for topping)
Instructions
- In a large mixing bowl, combine the graham cracker crumbs, unsweetened cocoa powder, granulated sugar, and salt. Stir until well mixed.
- Pour in the melted unsalted butter and mix until the mixture resembles wet sand and holds together when pressed.
- Line an 8×8 inch baking dish with parchment paper, leaving overhang for easy removal.
- Press the brownie mixture firmly into the bottom of the prepared baking dish, ensuring it’s evenly distributed and compacted.
- Chill the baking dish in the refrigerator while preparing the cheesecake layer.
- In a medium mixing bowl, beat the softened cream cheese with an electric mixer until smooth and creamy (about 2-3 minutes).
- Gradually add the powdered sugar and vanilla extract, mixing until well combined and smooth.
- In a separate bowl, whip the heavy cream until stiff peaks form (about 3-5 minutes on high speed).
- Gently fold the whipped cream into the cream cheese mixture until just combined.
- Remove the brownie base from the refrigerator and spread the cheesecake mixture evenly over it.
- If using, sprinkle chocolate chips on top of the cheesecake layer.
- Cover the baking dish with plastic wrap or aluminum foil and return it to the refrigerator. Chill for at least 4 hours or overnight.
- Once set, lift the brownies out of the baking dish using the parchment paper.
- Place on a cutting board and cut into squares, wiping the knife with a damp cloth between cuts for cleaner edges.
- Serve chilled and enjoy!
Notes
- For a fruity twist, consider adding a layer of fruit preserves or fresh berries between the brownie and cheesecake layers.
- Leftovers can be stored in an airtight container in the refrigerator for up to 5 days or frozen for up to 2 months.
- Prep Time: 30 minutes
- Cook Time: 0 minutes