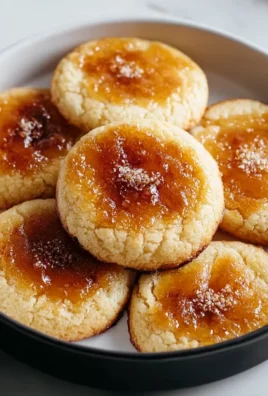
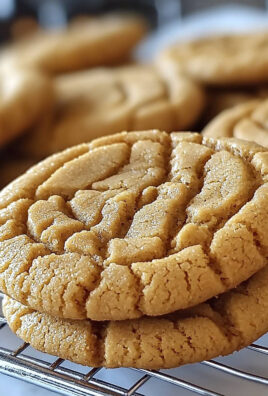
Moose Farts! Yes, you read that right. Before you let the delightfully peculiar name make you chuckle, let me assure you, this recipe is anything but off-putting. In fact, it’s a truly delightful, no-bake confection that has charmed countless palates, proving that sometimes the best things come with the most unforgettable names. I first encountered these whimsical treats at a community potluck years ago, and I was instantly captivated by their irresistible blend of textures and flavors. They are a beloved staple in many Canadian households, often making an appearance during holiday gatherings or casual get-togethers, celebrated for their simplicity and crowd-pleasing appeal.
What exactly makes this dish so universally adored, despite its quirky moniker?
It’s a symphony of sweet satisfaction in every bite.
Imagine a delightful, bite-sized morsel, often packed with crunchy cereals, rich chocolate, and other delectable additions, all bound together in a perfectly chewy sphere. These treats offer a fantastic combination of convenience and deliciousness, making them a go-to for busy hosts and sweet-toothed snackers alike. They require no oven, minimal effort, and deliver maximum satisfaction, especially when you need a quick dessert. Prepare to fall in love with the surprising charm of Moose Farts – a recipe that promises to be a conversation starter and a true taste sensation!
Ingredients:
- 2 cups Granulated Sugar: This is the backbone of our sweetness and provides the necessary structure when cooked.
- ½ cup (1 stick) Unsalted Butter: I always opt for unsalted butter so I can control the salt content myself. It adds richness and helps create that wonderful fudgy texture in our Moose Farts. Make sure it’s at room temperature for easier melting.
- ½ cup Milk: Any milk works here, whether it’s whole milk for extra creaminess, 2%, or even a non-dairy alternative if you prefer. It helps dissolve the sugar and forms the base of our syrup.
- ½ cup Creamy Peanut Butter: The star flavor, in my opinion! I find creamy works best for a smooth consistency, but if you love a bit of crunch, feel free to experiment with crunchy peanut butter. It adds a delicious nutty depth and a fantastic chewiness to our Moose Farts.
- 1 teaspoon Pure Vanilla Extract: Don’t skimp on the good stuff here. Pure vanilla truly elevates all the other flavors and adds a warm, inviting aroma.
- 4 cups Quick-Cooking Oats: These are crucial for the texture. Quick oats absorb the liquid beautifully and contribute to that classic no-bake cookie feel. Avoid instant oats as they can become too mushy, and old-fashioned rolled oats can make the cookies too chewy and sometimes crumbly.
- ½ cup Unsweetened Cocoa Powder: For that essential rich chocolatey flavor. Sifting it before adding can help prevent lumps in your mixture. I recommend a good quality Dutch-processed cocoa for a darker color and smoother taste, but any unsweetened cocoa will work wonderfully.
- Pinch of Salt (optional, but recommended): Just a tiny pinch, especially if you’re using unsalted butter. It helps to balance the sweetness and really brings out the chocolate and peanut butter flavors, making our Moose Farts even more delectable.
Getting Started: Preparing for Your Delicious Moose Farts
Before we even think about turning on the stove, I like to get everything organized. This recipe for “Moose Farts” moves quite quickly once the cooking starts, so having your ingredients measured and ready to go is key to success. Trust me, you don’t want to be scrambling for oats when your sugar mixture is at a rolling boil!
- Prepare Your Workspace: First things first, clear off a good portion of your counter. You’ll need space for your ingredients and for laying out the finished “Moose Farts” to cool.
- Line Your Baking Sheets: Grab two large baking sheets and line them with parchment paper. Wax paper will also work in a pinch, but I find parchment paper is less likely to stick and makes for super easy cleanup. This is where our glorious “Moose Farts” will set, so ensure you have enough surface area.
- Measure Dry Ingredients: In a medium bowl, combine your 4 cups of quick-cooking oats with the ½ cup of unsweetened cocoa powder and the optional pinch of salt. Give them a good whisk with a fork or a small whisk to ensure the cocoa is evenly distributed. This prevents clumps of dry cocoa in your final mixture. Set this bowl aside; it will be added in later.
- Measure Wet Ingredients (excluding butter/milk): Have your ½ cup of creamy peanut butter measured out and ready. Also, measure your 1 teaspoon of pure vanilla extract into a small bowl or directly into your peanut butter. Having these ready will allow you to quickly incorporate them into the hot sugar mixture when the time comes.
Taking these initial steps seriously will make the rest of the process flow so much smoother, ensuring your “Moose Farts” turn out perfectly without any last-minute panic. It’s all about setting yourself up for success in the kitchen!
Crafting the Velvety Chocolate-Peanut Butter Base
This is where the magic really begins for our “Moose Farts.” We’re creating a rich, sweet, and fudgy base that will bind all our delicious oats together. Pay close attention to the boiling process; it’s the secret to achieving the perfect consistency.
- Combine Sugar, Butter, and Milk: In a large, heavy-bottomed saucepan – I always recommend a heavy bottom to help prevent scorching – combine your 2 cups of granulated sugar, ½ cup (1 stick) of unsalted butter, and ½ cup of milk. The heavier the pan, the more evenly the heat will distribute, which is crucial for not burning our sugar mixture.
- Melt and Stir: Place the saucepan over medium heat. Begin stirring constantly with a wooden spoon or a heat-resistant spatula. Your goal here is to melt the butter completely and dissolve the sugar. Keep stirring until the mixture is smooth and all the sugar crystals have disappeared. You’ll notice the texture change from grainy to slick. This usually takes about 3-5 minutes.
- Bring to a Rolling Boil: Once the sugar is fully dissolved and the mixture is smooth, increase the heat slightly to medium-high. Bring the mixture to a rapid, rolling boil. What exactly is a “rolling boil,” you ask? It’s when the bubbles are erupting vigorously and continuously across the entire surface of the liquid, and they don’t stop even when you stir. This is a critical step for the texture of your Moose Farts.
- Boil for Precisely One Minute: Once you achieve that full, rolling boil, set a timer for exactly one minute. Continue to let it boil vigorously without stirring during this minute. Boiling for this specific duration is what allows the sugar to reach the proper concentration and consistency, which in turn ensures your “Moose Farts” will set up beautifully and have that wonderfully chewy, not overly sticky, texture. If you under-boil, they might not set; if you over-boil, they can become crumbly or too hard.
- Remove from Heat: As soon as the minute is up, immediately remove the saucepan from the heat. Do not let it boil for longer. This hot sugar syrup is the heart of our “Moose Farts” base.
- Stir in Peanut Butter and Vanilla: Without delay, add your ½ cup of creamy peanut butter and 1 teaspoon of pure vanilla extract to the hot syrup. Stir vigorously with your wooden spoon or spatula until the peanut butter is completely melted and smoothly incorporated into the chocolatey mixture. The residual heat from the sugar syrup will melt the peanut butter quickly, creating a rich, glossy, and incredibly fragrant base. The aroma filling your kitchen right now should be absolutely heavenly! This creamy, chocolate-peanut butter concoction is truly the foundation for amazing “Moose Farts.”
At this stage, you have a beautiful, shiny, and utterly irresistible chocolate-peanut butter sauce. It’s warm, inviting, and perfectly ready for the next crucial step: adding the oats.
Incorporating the Oats: The Heart of Your Moose Farts
Now that we have our luscious chocolate-peanut butter base, it’s time to bring in the main bulk of our “Moose Farts”: the quick-cooking oats. This step is about quickly and evenly coating the oats without overworking the mixture.
- Add the Oat Mixture: Remember that bowl of quick-cooking oats, cocoa powder, and salt we prepared earlier? Now’s its moment to shine. Pour all of the oat mixture directly into the hot chocolate-peanut butter base in the saucepan.
- Stir Quickly and Thoroughly: Using your wooden spoon or sturdy spatula, stir everything together very quickly and thoroughly. You want to ensure every single oat flake is coated in that glorious chocolate-peanut butter goodness. Work fast, as the mixture will start to cool and thicken relatively quickly. Continue stirring until there are no dry spots visible and the oats are evenly distributed. The mixture should look moist, sticky, and uniform. It will have a slightly loose, yet cohesive, consistency at this point. It’s important not to overmix here; just enough to combine everything well. Overmixing can sometimes lead to a tougher texture in your finished “Moose Farts.”
- Observe the Consistency: The mixture should be thick enough to hold its shape when dropped from a spoon, but still warm and pliable. If it feels too stiff and starts to crumble as you stir, it might be cooling too rapidly or was boiled a tad too long. If it seems too loose, don’t worry too much; as it cools further, it will firm up. The goal is a sticky, cohesive mass that you can easily scoop.
You’ve now got the full mixture for your “Moose Farts” ready! The aroma is undoubtedly fantastic, a rich blend of chocolate, peanut butter, and the wholesome scent of oats. It’s almost time to transform this delicious mass into individual treats.
Forming Your Irresistible Moose Farts
This is arguably the most satisfying part of the process – watching your mixture transform into individual, delectable “Moose Farts”! Speed is your friend here, as the mixture will continue to set as it cools.
- Work Quickly: Remember those parchment-lined baking sheets you prepared earlier? Have them close by. Using a tablespoon or a small cookie scoop (I find a 1 ½-inch cookie scoop to be perfect for consistent sizing), quickly drop spoonfuls of the warm mixture onto the prepared baking sheets.
- Shape (Optional): The “Moose Farts” will naturally form a rustic, slightly irregular shape, which is perfectly charming and part of their homemade appeal. If you prefer a neater, more uniform look, you can gently use the back of a second spoon or your clean, slightly damp fingertips to slightly press down and shape them into more rounded discs. Be gentle, as they are still warm and delicate. I often embrace their natural, organic shape, as it adds to their whimsical name!
- Spacing is Key: Leave a little space between each “Moose Fart” on the baking sheet, about an inch or so. While they won’t spread like traditional baked cookies, giving them room ensures they cool evenly and don’t stick to each other. You’ll likely fill both of your prepared baking sheets.
- Continue Until Mixture is Gone: Keep scooping and dropping until you’ve used up all of the glorious “Moose Farts” mixture. If the mixture in the saucepan starts to become too stiff to scoop easily, you can sometimes gently warm it over very low heat for just a few seconds (stirring constantly) to make it more pliable, but be careful not to re-cook it. Alternatively, embrace the rustic texture – sometimes the firmer bits make for a nice chew!
You’ll see before your eyes dozens of rustic, chocolatey, oat-filled treats, each one a promise of deliciousness. The visual appeal of these freshly formed “Moose Farts” is truly something to behold – they look homemade, hearty, and utterly inviting.
The Final Chill and Enjoying Your Moose Farts
Patience, my friends, is a virtue, especially when it comes to allowing these “Moose Farts” to properly set. A little waiting time now will ensure they have the perfect texture for ultimate enjoyment.
- Allow to Cool and Set: Once all of your “Moose Farts” are on the baking sheets, find a cool spot in your kitchen to let them rest. You can leave them on the counter at room temperature for at least 30 minutes to an hour, or even longer, depending on the temperature and humidity in your home. The goal is for them to firm up completely and become solid. You’ll know they’re ready when they can be easily lifted from the parchment paper without losing their shape or feeling sticky.
- For Quicker Setting (Optional): If you’re in a bit of a hurry (and who wouldn’t be when delicious “Moose Farts” are involved?), you can carefully transfer the baking sheets to your refrigerator for about 15-20 minutes. This will speed up the setting process significantly. Just be sure not to leave them in there for too long, as they can become a bit too hard if overly chilled.
- Testing for Readiness: Gently poke one of the “Moose Farts.” It should feel firm to the touch and hold its shape. If it’s still soft or a bit gooey, give it more time to set. The proper set is essential for that classic no-bake cookie experience.
- Serving Your Moose Farts: Once fully set, you can carefully peel them off the parchment paper. They are now ready to be devoured! These are wonderful as a midday snack, a simple dessert after dinner, or a delightful treat to share with friends and family. I love them with a tall glass of cold milk, which perfectly complements their rich flavor.
- Storage Instructions: To keep your “Moose Farts” fresh and delicious, store them in an airtight container at room temperature. They will typically last for about 3-5 days. If you want them to last longer, you can store them in the refrigerator, where they’ll stay good for up to a week. Just be aware that they’ll be a bit firmer when chilled, but still incredibly tasty. For longer-term storage, they also freeze beautifully in an airtight container or freezer bag for up to 3 months. Just thaw them at room temperature for an hour or so before enjoying.
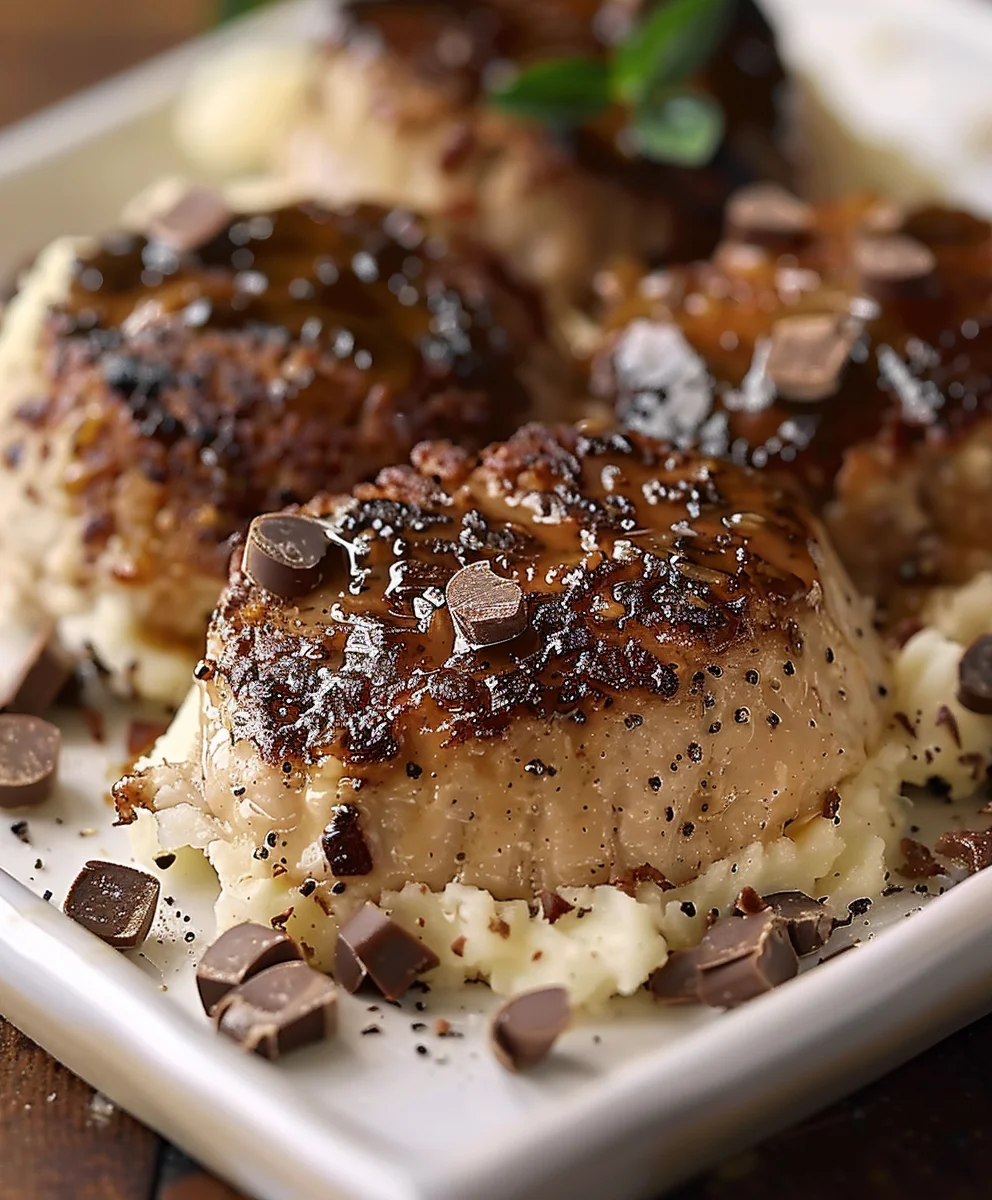
Congratulations! You’ve successfully made a batch of incredibly satisfying, chewy, and rich “Moose Farts.” Each bite is a delightful explosion of chocolate and peanut butter, perfectly balanced by the hearty texture of the oats. These no-bake wonders are a testament to how simple ingredients, combined with a little love and attention, can create something truly extraordinary. Enjoy every single bite of your homemade deliciousness!
Conclusion:
Well, friends, we’ve reached the sweet finale of our culinary adventure, and I truly hope you’re feeling as excited as I am about this incredible recipe. I honestly believe that if there’s one treat you add to your baking repertoire this year, it absolutely has to be this one. It’s more than just a simple snack; it’s a little ball of joy, a testament to how simple ingredients can come together to create something truly magical and utterly delicious. The balance of textures – that delightful chewiness, the subtle crunch, and the melt-in-your-mouth goodness – combined with a perfectly harmonious blend of flavors, makes these treats an instant classic in any home.
I’ve witnessed firsthand the smiles they bring, the way they spark conversation, and the sheer delight on people’s faces as they take that first bite. They’re proof that some of the best things in life are indeed uncomplicated and approachable. Whether you’re a seasoned baker or someone just starting to explore the joys of the kitchen, this recipe is incredibly forgiving and guarantees a fantastic result every single time. You simply cannot go wrong with something this charmingly easy and universally loved. It’s an undeniable crowd-pleaser, perfect for unexpected guests, a last-minute contribution to a potluck, or simply to brighten a quiet afternoon at home with a cup of tea or coffee.
Elevate Your Snacking Game: Serving & Variation Ideas!
Now, while these delightful bites are utterly perfect just as they are, I’m a big believer in playful experimentation. Imagine serving a platter of these at your next gathering; they’re fantastic alongside fresh fruit or a selection of cheeses for a unique dessert board. For a more decadent touch, try gently warming them for a few seconds – the flavors really bloom, and the texture becomes even more irresistible. They also make incredibly thoughtful and personal gifts. Package a small batch in a charming tin or a clear cellophane bag tied with a ribbon, and you’re ready to spread some serious culinary cheer during the holidays or for any special occasion.
But let’s talk variations! This recipe is a fantastic canvas for your creativity. For a different twist, try rolling some of the finished treats in finely shredded coconut for a tropical vibe, or perhaps finely chopped pistachios for an elegant touch and a delightful nutty crunch. A dusting of high-quality cocoa powder can transform them into a sophisticated, almost truffle-like experience. If you’re feeling adventurous, consider adding a pinch of a different spice to the mix – a touch of cardamom or even a hint of espresso powder could introduce an exciting new dimension to the flavor profile. For those who love a bit of zest, a tiny amount of orange or lemon zest folded into the mixture before shaping can really brighten things up. The possibilities truly are endless, and each small tweak can lead to a brand new favorite version of these wonderful sweets.
Ultimately, what makes this recipe truly stand out, beyond its fantastic taste and versatility, is the sheer fun associated with it. I’m talking, of course, about our beloved “Moose Farts”. Yes, the name itself is a conversation starter, a giggle-inducing title that perfectly encapsulates the joyful, unpretentious spirit of these treats. Don’t let the whimsical name fool you into thinking they’re anything less than exceptionally delicious; in fact, the quirky name often adds to their charm and memorability, making them an instant hit and a staple request once people have had the pleasure of tasting them.
Your Turn: Get Baking and Share the Joy!
So, now it’s your turn! I wholeheartedly encourage you to roll up your sleeves, gather your ingredients, and dive into making a batch (or two, or three!) of these irresistible delights. I promise you won’t regret it. The process is simple, satisfying, and the reward is a batch of treats that will disappear faster than you can say their memorable name. Once you’ve experienced the pure joy of creating and tasting them, I would absolutely love to hear all about it. Share your baking adventures, your favorite variations, and the reactions of your friends and family. Tag me on social media (without specific platform mentions or links, just imagine!) or simply drop a comment below this article. Your experiences inspire me and the entire community of fellow food lovers. Let’s make some Moose Farts and share the deliciousness far and wide!
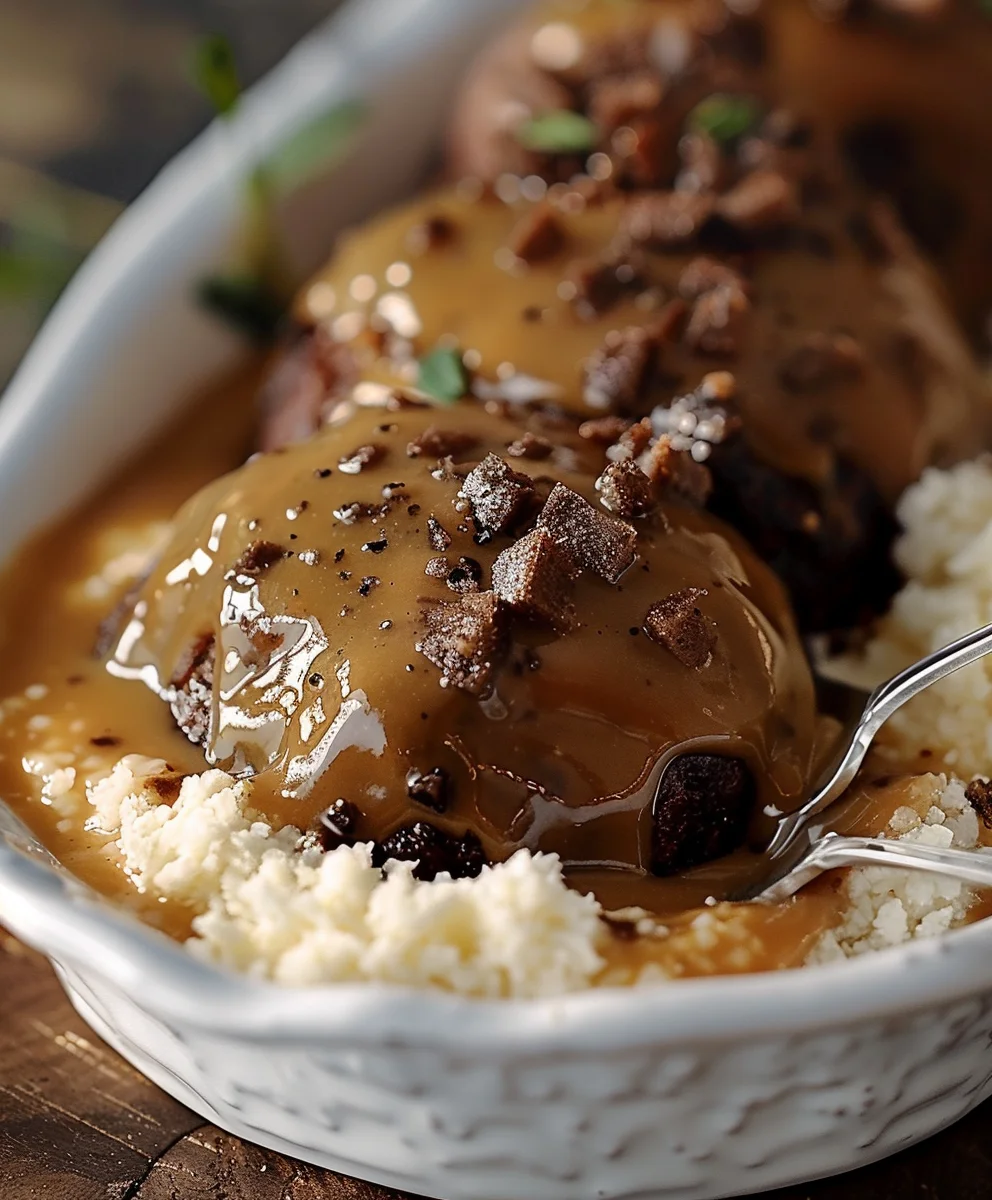
No-Bake Moose Farts: The Funniest, Easiest Dessert Recipe
Moose Farts! Yes, you read that right. This delightful, no-bake confection is a beloved Canadian classic, perfect for potlucks and gatherings. With a symphony of sweet satisfaction in every bite, these treats offer a fantastic combination of convenience and deliciousness, requiring no oven and minimal effort. Perfect for no-bake lovers, busy parents, or anyone needing a last-minute party dessert, Moose Farts are a low-effort, high-reward recipe. They can be prepped ahead, chilled in batches, and even frozen. Whether you’re hosting a holiday get-together or looking for a laugh with your dessert tray, these Canadian classics bring flavor and fun to every table.
Ingredients
-
1 can (14 oz / 300 ml) sweetened condensed milk
-
1/4 cup butter, melted
-
1 tsp vanilla extract
-
1 1/2 cups dried shredded coconut
-
1 1/2 cups graham cracker crumbs
-
1 1/2 cups chocolate chips
-
Extra graham cracker crumbs (for rolling, optional)
Instructions
-
Step 1
Line an 8×8 inch baking pan with parchment paper, or prepare a plate if rolling into balls. If rolling, have extra graham cracker crumbs ready. -
Step 2
In a large bowl, whisk together the melted butter, sweetened condensed milk, and vanilla extract until smooth. -
Step 3
Add the dried shredded coconut, 1 1/2 cups graham cracker crumbs, and chocolate chips to the wet mixture. Stir until all ingredients are well combined and coated. -
Step 4
For bars: Press the mixture evenly into the prepared 8×8 inch pan. For balls: Roll the mixture into 1-inch balls. Optionally, roll the balls in extra graham cracker crumbs for an added coating. -
Step 5
Refrigerate for at least 1-2 hours, or until the Moose Farts are firm and set. This allows them to hold their shape perfectly. -
Step 6
If made into bars, cut into squares. Serve chilled. Store leftover Moose Farts in an airtight container at room temperature for up to 5 days, or in the refrigerator for up to a week. They can also be frozen for up to 3 months.
Important Information
Nutrition Facts (Per Serving)
It is important to consider this information as approximate and not to use it as definitive health advice.
Allergy Information
Please check ingredients for potential allergens and consult a health professional if in doubt.

