Reese’s Peanut Butter Bars are a delightful treat that combines the rich, creamy flavor of peanut butter with the sweetness of chocolate, creating a dessert that is simply irresistible. As a fan of no-bake recipes, I find that these bars not only satisfy my sweet tooth but also evoke a sense of nostalgia, reminding me of childhood snacks and family gatherings. The history of peanut butter treats dates back to the early 20th century, but Reese’s Peanut Butter Bars have carved out their own special place in the hearts of dessert lovers everywhere.
People adore these bars for their perfect balance of taste and texture; the smooth peanut butter layer is complemented by a crunchy graham cracker base and a luscious chocolate topping. Plus, they are incredibly convenient to make, requiring minimal ingredients and no baking time. Whether you’re preparing for a party or simply indulging in a sweet craving, Reese’s Peanut Butter Bars are sure to impress. Join me as we dive into this easy and delicious recipe that will have everyone asking for seconds!

Ingredients:
- 1 cup unsalted butter, melted
- 1 cup graham cracker crumbs
- 1 cup powdered sugar
- 1 cup creamy peanut butter
- 1 ½ cups semi-sweet chocolate chips
- 2 tablespoons vegetable oil (optional, for smoother chocolate)
Preparing the Base
Let’s start by making the delicious peanut butter base for our bars. This is the foundation that will hold everything together and give us that rich, creamy flavor we all love.
- In a large mixing bowl, combine the melted butter and creamy peanut butter. Stir them together until they are well blended. I like to use a whisk for this step to ensure everything is mixed smoothly.
- Next, add the graham cracker crumbs to the bowl. These crumbs will give our bars a nice texture and a hint of sweetness. Mix them in until they are fully incorporated.
- Now, it’s time to add the powdered sugar. This will sweeten our mixture and help it bind together. Gradually add the powdered sugar while stirring to avoid any clumps. Keep mixing until the mixture is smooth and thick.
- Once everything is well combined, it’s time to transfer this mixture into a prepared baking dish. I usually line a 9×13 inch baking pan with parchment paper for easy removal later. Pour the peanut butter mixture into the pan and use a spatula to spread it evenly across the bottom.
- Press the mixture down firmly to create a solid base. This step is crucial as it will help the bars hold their shape once they are cut. I like to use the bottom of a measuring cup to press it down evenly.
Melting the Chocolate
Now that we have our base ready, let’s move on to the chocolate topping. This is where the magic happens, and it’s super easy!
- In a microwave-safe bowl, combine the semi-sweet chocolate chips and vegetable oil (if using). The oil will help the chocolate melt smoothly and give it a nice sheen.
- Microwave the chocolate in 30-second intervals, stirring in between each interval. This will help prevent the chocolate from burning. It usually takes about 1-2 minutes total to melt the chocolate completely.
- Once the chocolate is melted and smooth, carefully pour it over the peanut butter base in the baking dish. Use a spatula to spread the chocolate evenly across the top. Make sure to cover the entire surface for that perfect chocolatey finish!
Chilling the Bars
Now that we have our bars assembled, it’s time to let them chill and set. This is the hardest part because the smell is so tempting!
- Cover the baking dish with plastic wrap or aluminum foil to prevent any odors from the fridge from seeping in.
- Place the dish in the refrigerator and let it chill for at least 2 hours. If you can wait longer, I recommend letting it chill overnight for the best results. This will help the bars firm up nicely.
Cutting and Serving
Once the bars have set, it’s time to cut them into delicious squares. This is where the fun really begins!
- Remove the baking dish from the refrigerator. If you used parchment paper, gently lift the bars out of the pan using the edges of the paper.
- Place the bars on a cutting board. Using a sharp knife, cut them into squares or rectangles, depending on your preference. I like to cut them into 1-inch squares for bite-sized treats.
- As you cut, you might notice some chocolate cracking on the top. Don’t worry; this is normal! Just be gentle while cutting to keep the bars intact.
- Once cut, you can serve them immediately or store them in an airtight container. They can be kept in the refrigerator for up to a week, but I doubt they’ll last that long!
Tips for Perfect Peanut Butter Bars
Here are some tips I’ve learned along the way to ensure your Reese’s Peanut Butter Bars turn out perfectly every time:
- Make sure your butter is fully melted before mixing it with the peanut butter.
Conclusion:
In summary, these Reese’s Peanut Butter Bars are an absolute must-try for anyone who loves the delightful combination of chocolate and peanut butter. The rich, creamy texture paired with the satisfying crunch of the graham cracker crust makes for a dessert that is not only indulgent but also incredibly easy to whip up. Whether you’re hosting a gathering, looking for a sweet treat to enjoy at home, or simply want to satisfy your sweet tooth, these bars are sure to impress. For serving suggestions, consider drizzling some melted chocolate on top for an extra touch of decadence, or sprinkle some chopped peanuts for added crunch. You can also experiment with variations by incorporating different types of chocolate, such as dark or white chocolate, or even adding a layer of caramel for a unique twist. The possibilities are endless! I encourage you to give this recipe a try and experience the joy of creating these delicious Reese’s Peanut Butter Bars in your own kitchen. Once you do, I would love to hear about your experience! Share your thoughts, any variations you tried, or even a photo of your finished bars. Let’s spread the love for this delightful treat together! Print
Reese’s Peanut Butter Bars: The Ultimate No-Bake Recipe for Chocolate Lovers
- Total Time: 90 minutes
- Yield: 24 bars 1x
Description
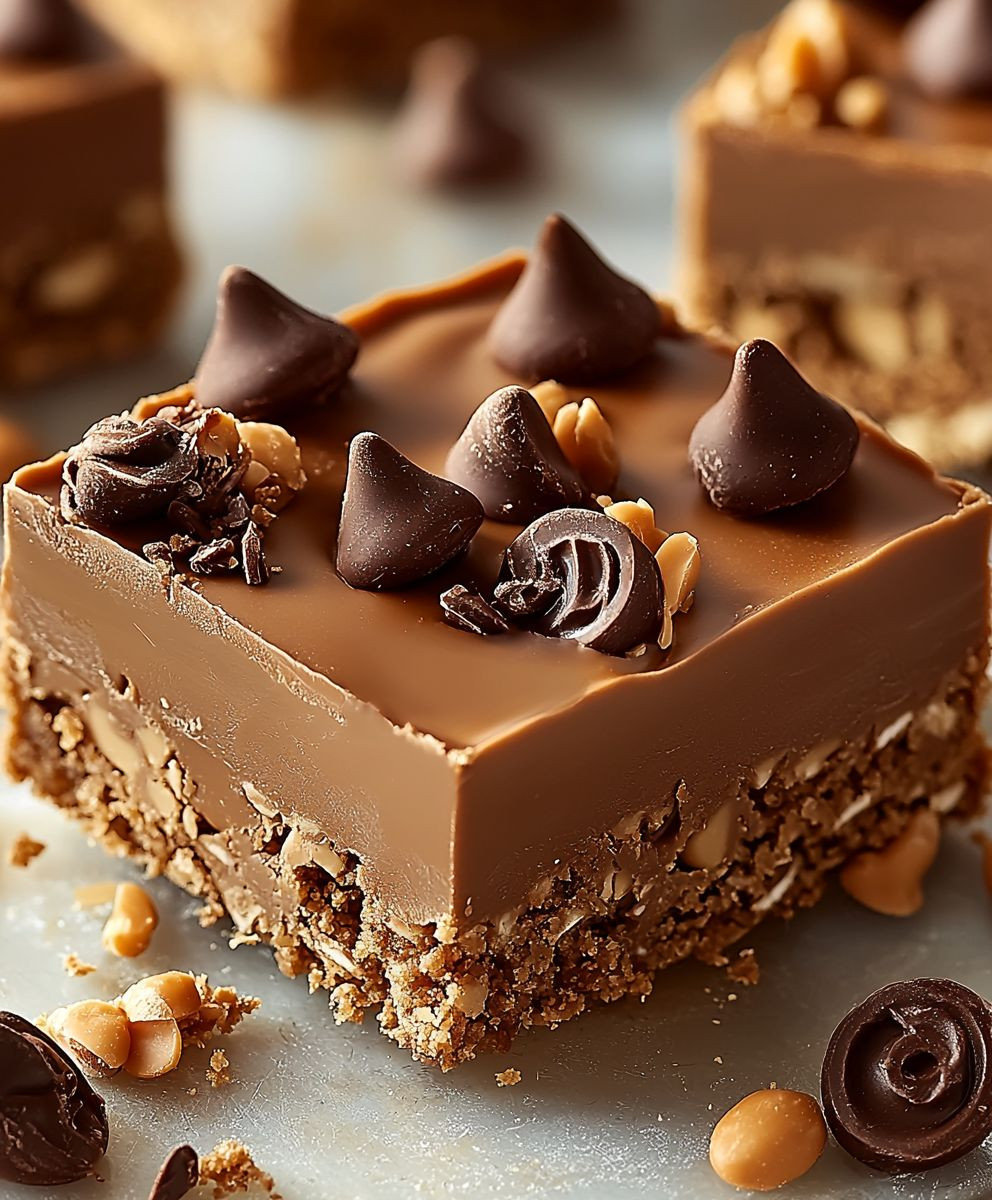
Enjoy these no-bake Reese’s Peanut Butter Bars, featuring a creamy peanut butter base and a rich semi-sweet chocolate topping. Perfect for satisfying your sweet cravings, these easy-to-make treats are ideal for any occasion!
Ingredients
- 1 cup creamy peanut butter
- 1 cup unsalted butter, softened
- 2 cups powdered sugar
- 2 cups graham cracker crumbs
- 2 cups semi-sweet chocolate chips
- 1 teaspoon vanilla extract
Instructions
- In a large mixing bowl, combine the softened unsalted butter and creamy peanut butter. Using a hand mixer or a stand mixer, beat them together on medium speed until the mixture is smooth and creamy (about 2-3 minutes).
- Add in the powdered sugar and vanilla extract. Mix on low speed to prevent the sugar from flying everywhere, then increase to medium speed until well combined. The mixture will be thick and slightly sticky.
- Gently fold in the graham cracker crumbs using a spatula until fully incorporated, resembling a thick dough.
- Line a 9×13 inch baking dish with parchment paper, leaving some overhang on the sides for easy removal.
- Spread the peanut butter mixture evenly into the bottom of the prepared baking dish, pressing down firmly to create an even layer.
- Place the baking dish in the refrigerator for about 30 minutes to firm up.
- In a microwave-safe bowl, add the semi-sweet chocolate chips. Microwave in 30-second intervals, stirring in between, until melted and smooth (about 1-2 minutes total).
- Let the melted chocolate cool for a minute or two to prevent it from melting the peanut butter layer.
- Remove the baking dish from the refrigerator; the peanut butter base should be firm.
- Pour the melted chocolate over the peanut butter layer and spread it evenly with a spatula.
- Gently tap the baking dish on the counter a few times to eliminate air bubbles.
- Return the baking dish to the refrigerator for at least 1 hour, or until the chocolate is completely set (or freeze for about 30 minutes if in a hurry).
- Once the chocolate is firm, lift the entire block of bars out of the dish using the parchment paper overhang.
- Place on a cutting board and cut into squares or rectangles (aim for about 24 bars).
- Transfer the cut bars to a serving plate or an airtight container. Store leftovers in the refrigerator.
Notes
- For a more decadent treat, consider adding a sprinkle of sea salt on top of the chocolate layer before it sets.
- These bars can be stored in an airtight container in the refrigerator for up to a week.
- Prep Time: 20 minutes
- Cook Time: 10 minutes